Archived News starting from 09-10-2019 and earlier
Blog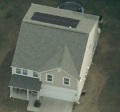
Bing Birdseye has finally caught up with my
solar panel installation, eliminating my need to borrow Steve's drone for some updated photos. I can now
gaze on their 3.14 kWh capacity glory whenever I feel like it without the need for ladders or drones.
With my trusty Samsung SDR-B74301N starting to show it's age with *only* 1080p video, I decided to jump on a deal for the Annke DT81DP. While not quite 4K, it uses the same analog video cables I already ran and has a significant resolution bump. It also uses the new H.265 HEVC video format that significantly reduces video size. The trade-off being the yuvj pixel format it uses is not yet widely supported, so I have to convert to yuv with ffmpeg before I can do anything with it. The 8 kHz, 64 kb/s audio is also apparently too low quality for Windows to recognize, so if anyone else has trouble playing downloaded the video I'm including the command to convert it below:
ffmpeg -i %1 -c:v copy -c:a aac -ar 48000 -b:a 176k -ac 2 -pix_fmt yuv420p -f mp4 %2
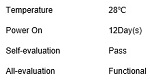
Today was also the coldest day of the year so far, and the handy HDD temp monitor reported 28°C. I'm curious to see what it will read in July
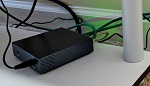
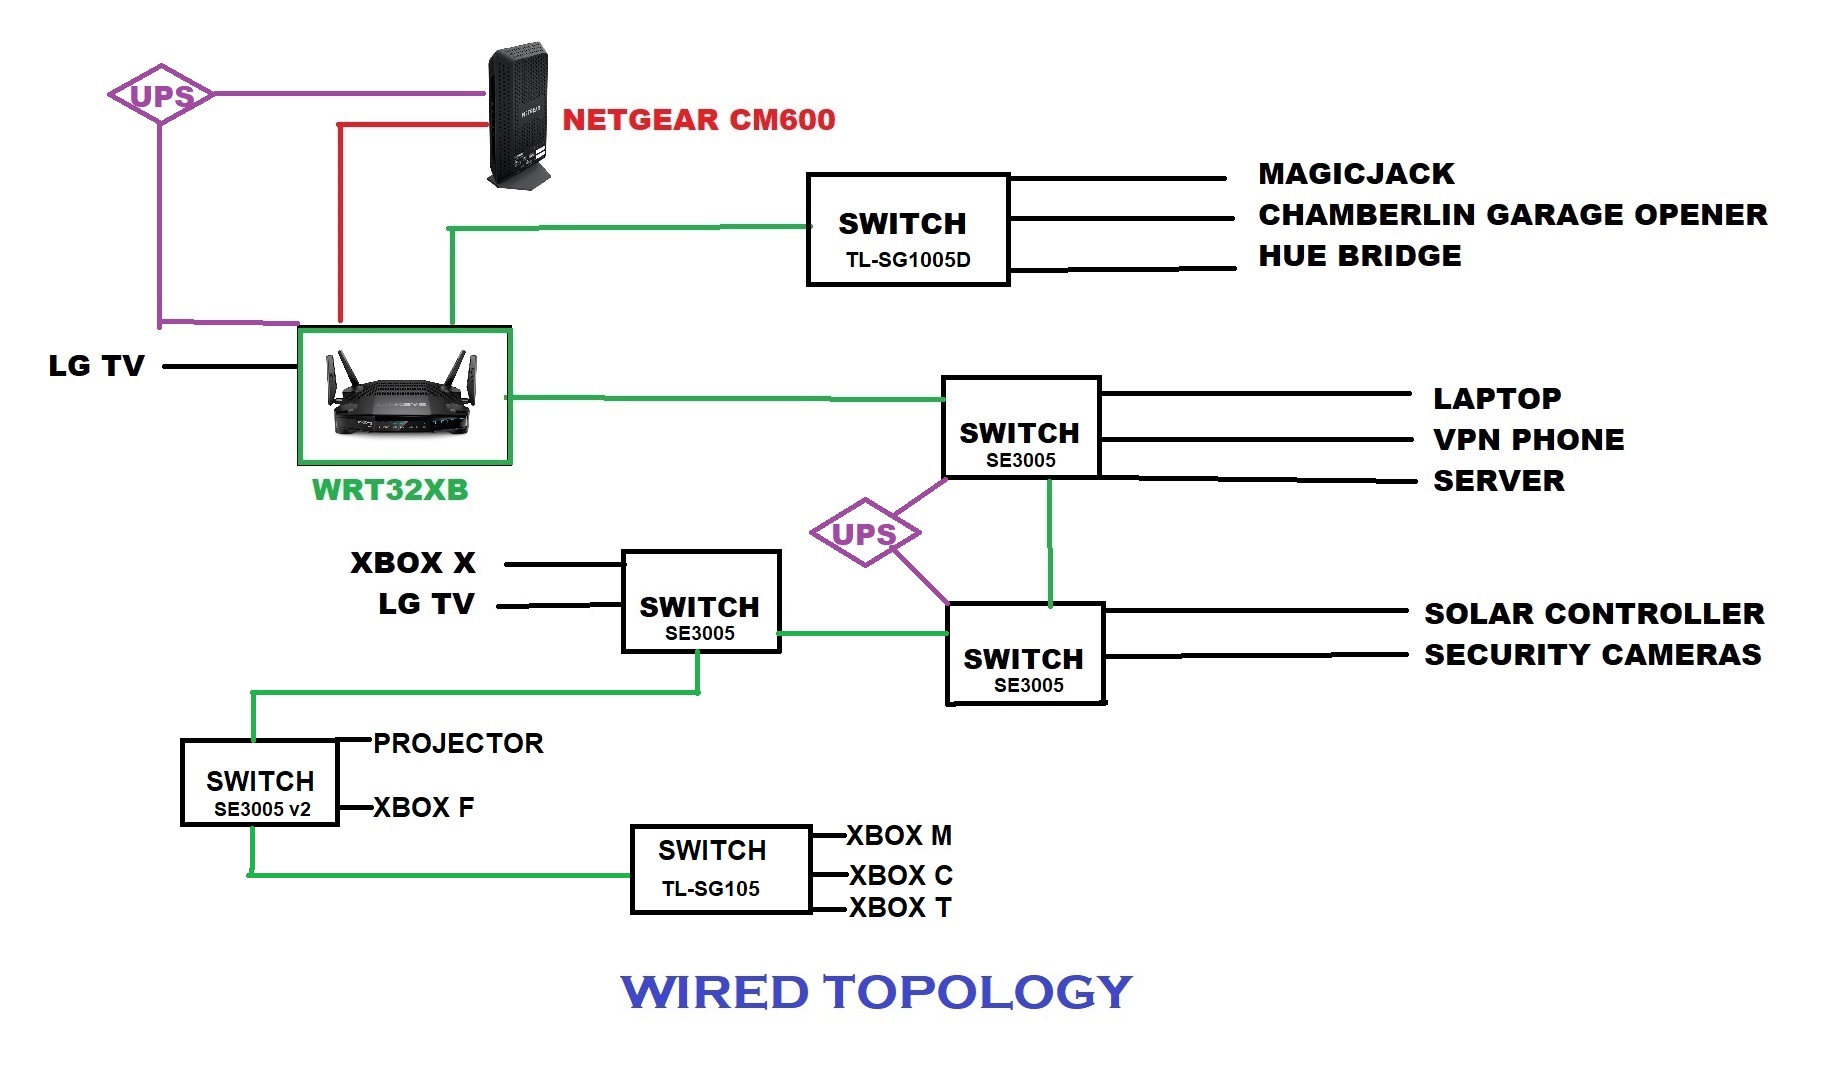
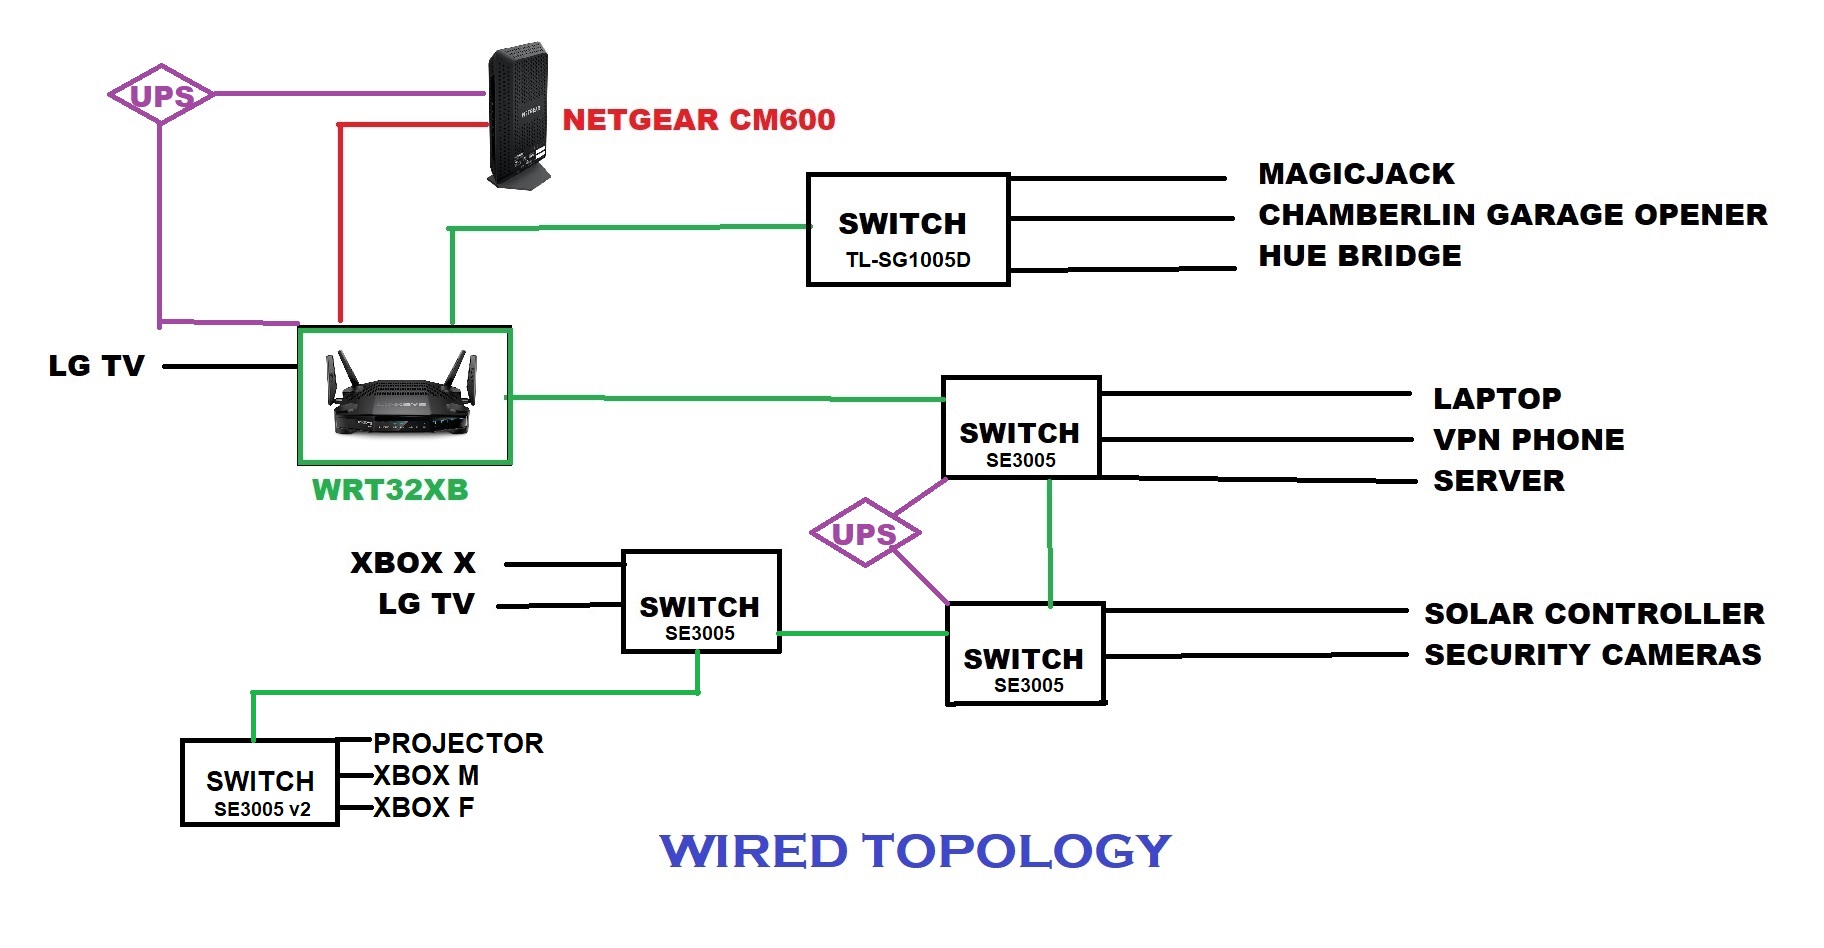
My last wireless Xbox has itched at me long enough to warrant a 6th network switch.
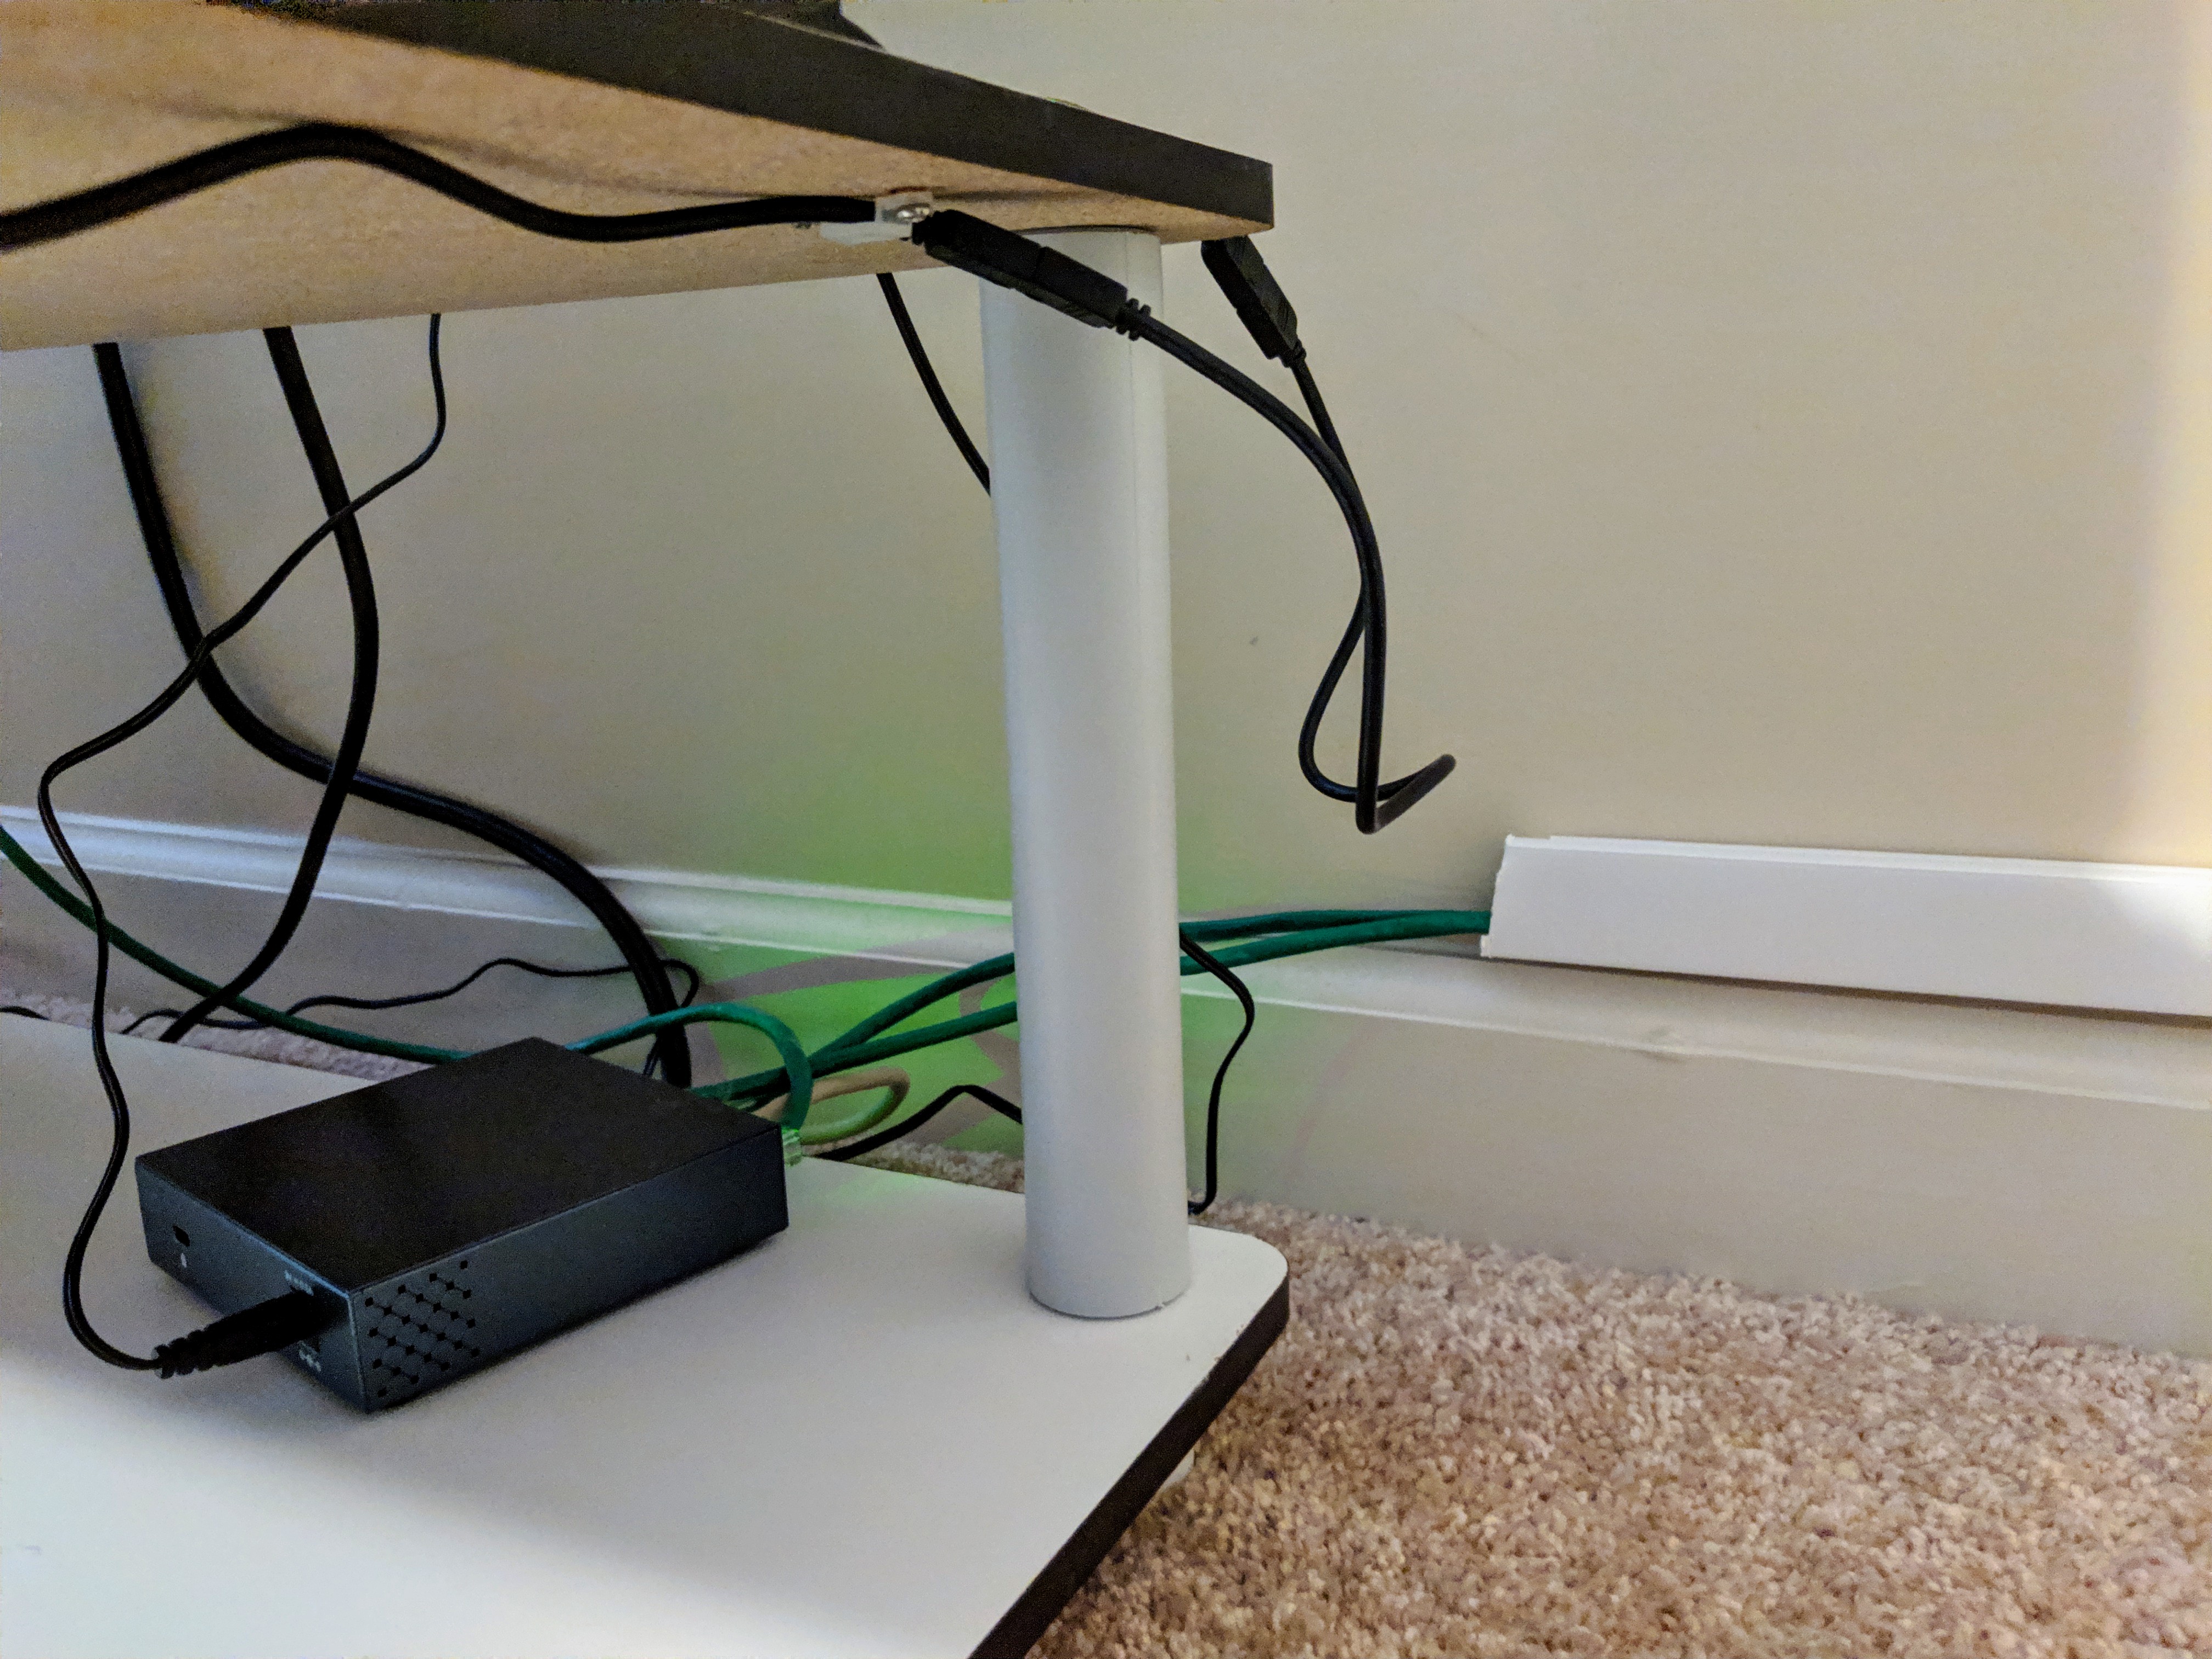
With my exterior walls insulated and not easily accommodating a network wire, I was forced to use a plastic wire hiding tray which looks at least presentable and finally delivers reliable gigabit Ethernet. Having run out of devices that accept wired Ethernet, my
latest topology map should last me for some time.
While my Linksys WRT32XB is amazing at network routing, it's lack of a media sharing server has been a sore spot. Today I discovered that will no longer be the case, as a whole new world of SSH configuration was made known to me. After following
this article, I discovered I only needed three lines total to
enable a DLNA server on my router:
ssh root@192.168.0.1

root@ATOMIC: opkg update

root@ATOMIC: opkg install minidlna
you'll need to configure where it should look for media with the following command:
root@ATOMIC: vim /tmp/minidlna.conf
A note that may hopefully help any fellow WRT32XB DLNA server hopefuls is to force a rescan after it's installed. You can do this by running "ps" and finding the process id that minidlna is running under, then type "kill ###" where ### is the process id. After that you can force the rescan with this:
root@ATOMIC: kill 12924

root@ATOMIC: /usr/bin/minidlna -R -f /tmp/minidlna.conf
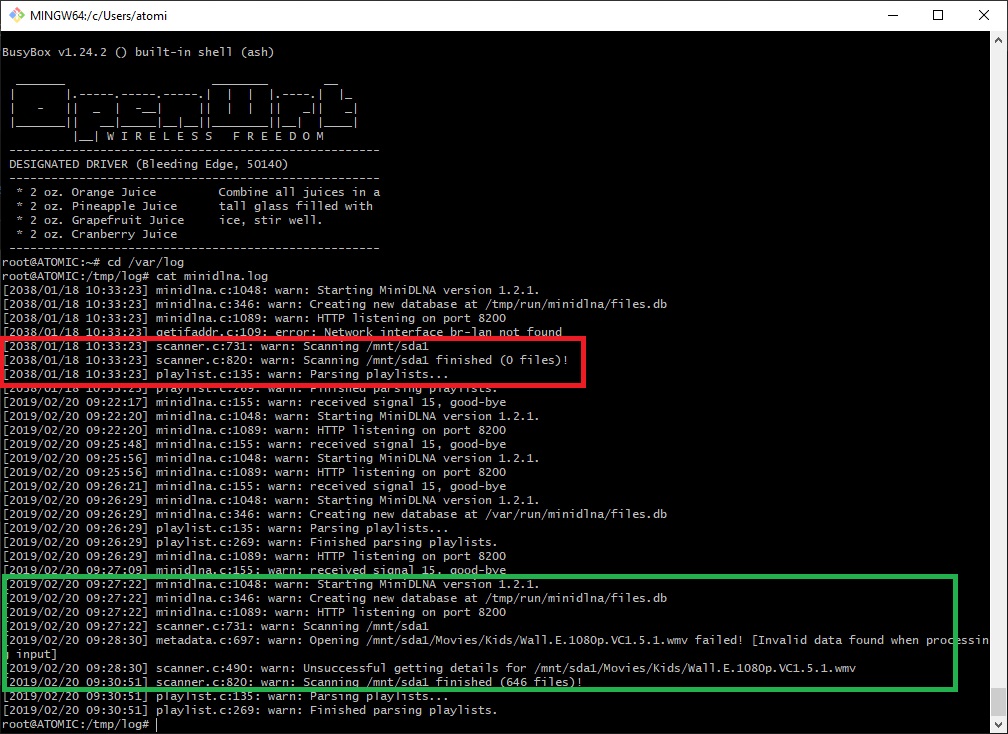
It's important you include the -f so it knows the config file to use when it rescans. You can see from
my minidlna log where it initially found 0 files, and when it actually found them on the forced rescan. If you see "finished (0 files)!" try the rescan line above.
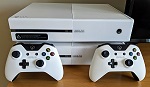
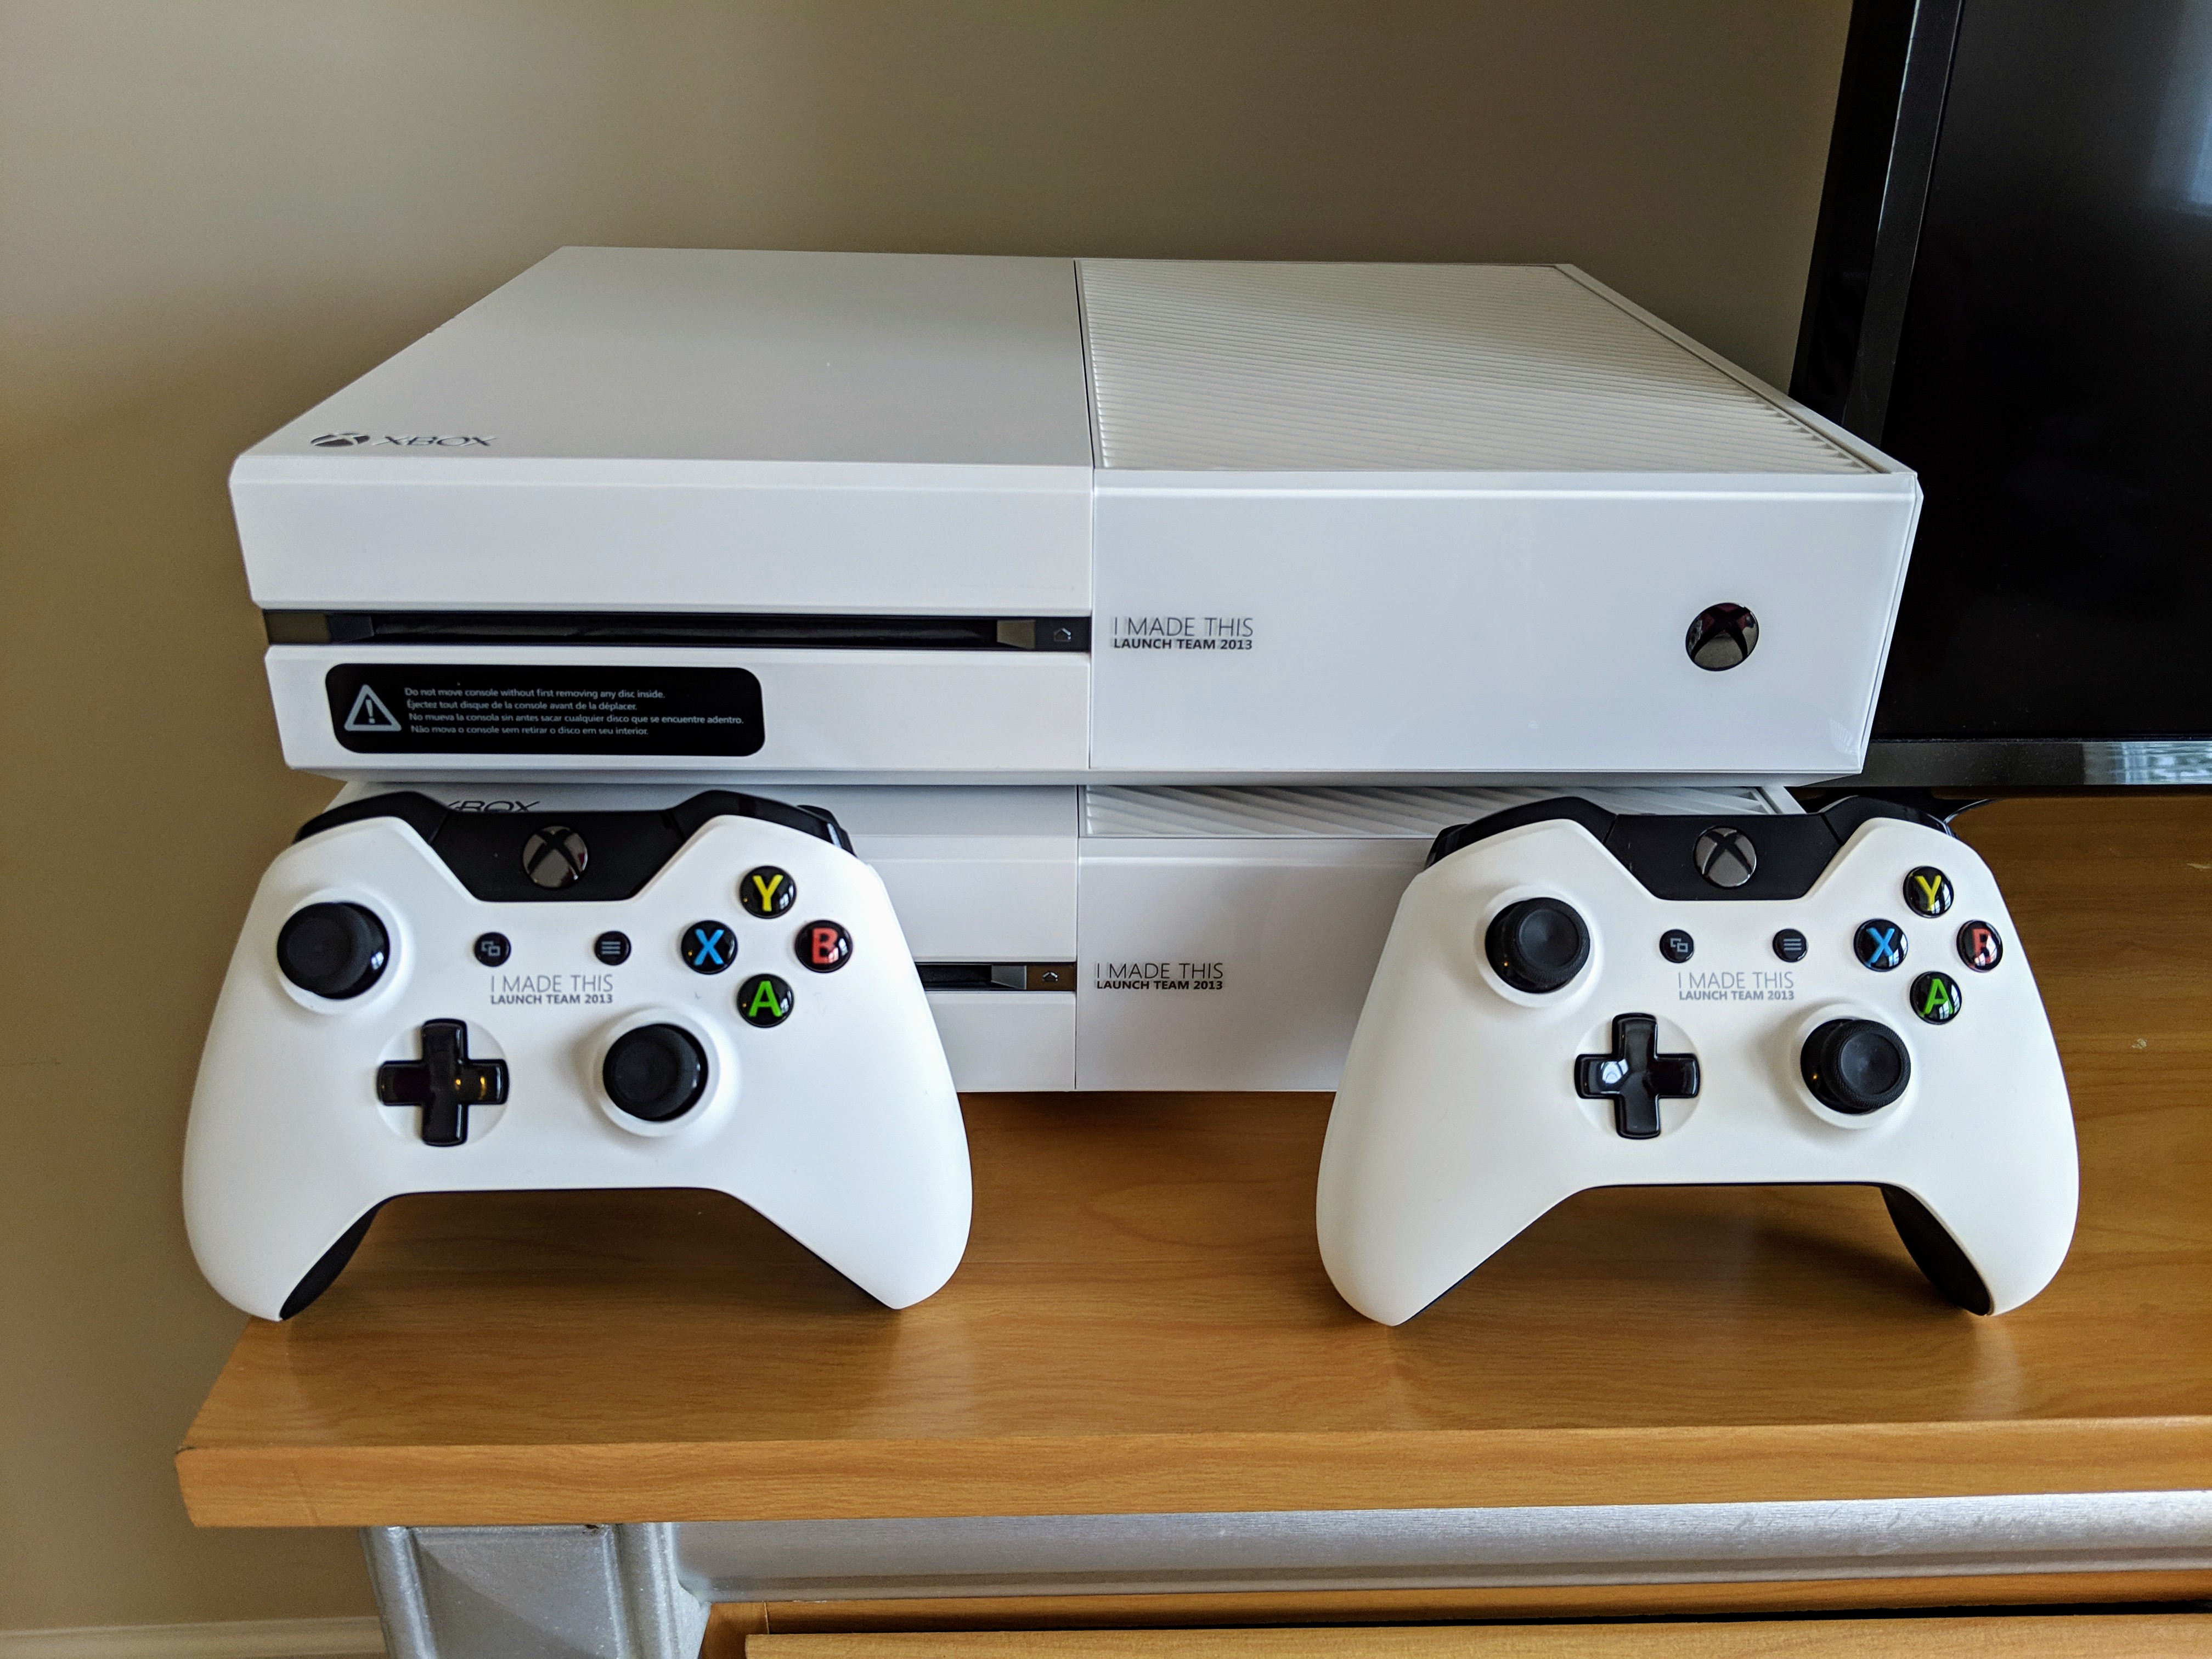
After spotting Xbox 360 Launch Team Xboxes on eBay for over $1k, then spotting Xbox One Launch Team Xboxes on eBay for under $300, I decided I could fool myself into believing I was making an investment and
bought two. While one has a stained controller, and the other has some rough plastic wear, I'm encouraged by my neighbor who says he can polish the plastic smooth and hopefully bring it back to pristine. In reality it's purely fanboy motivated, but I also pretend I'm making a long term investment.
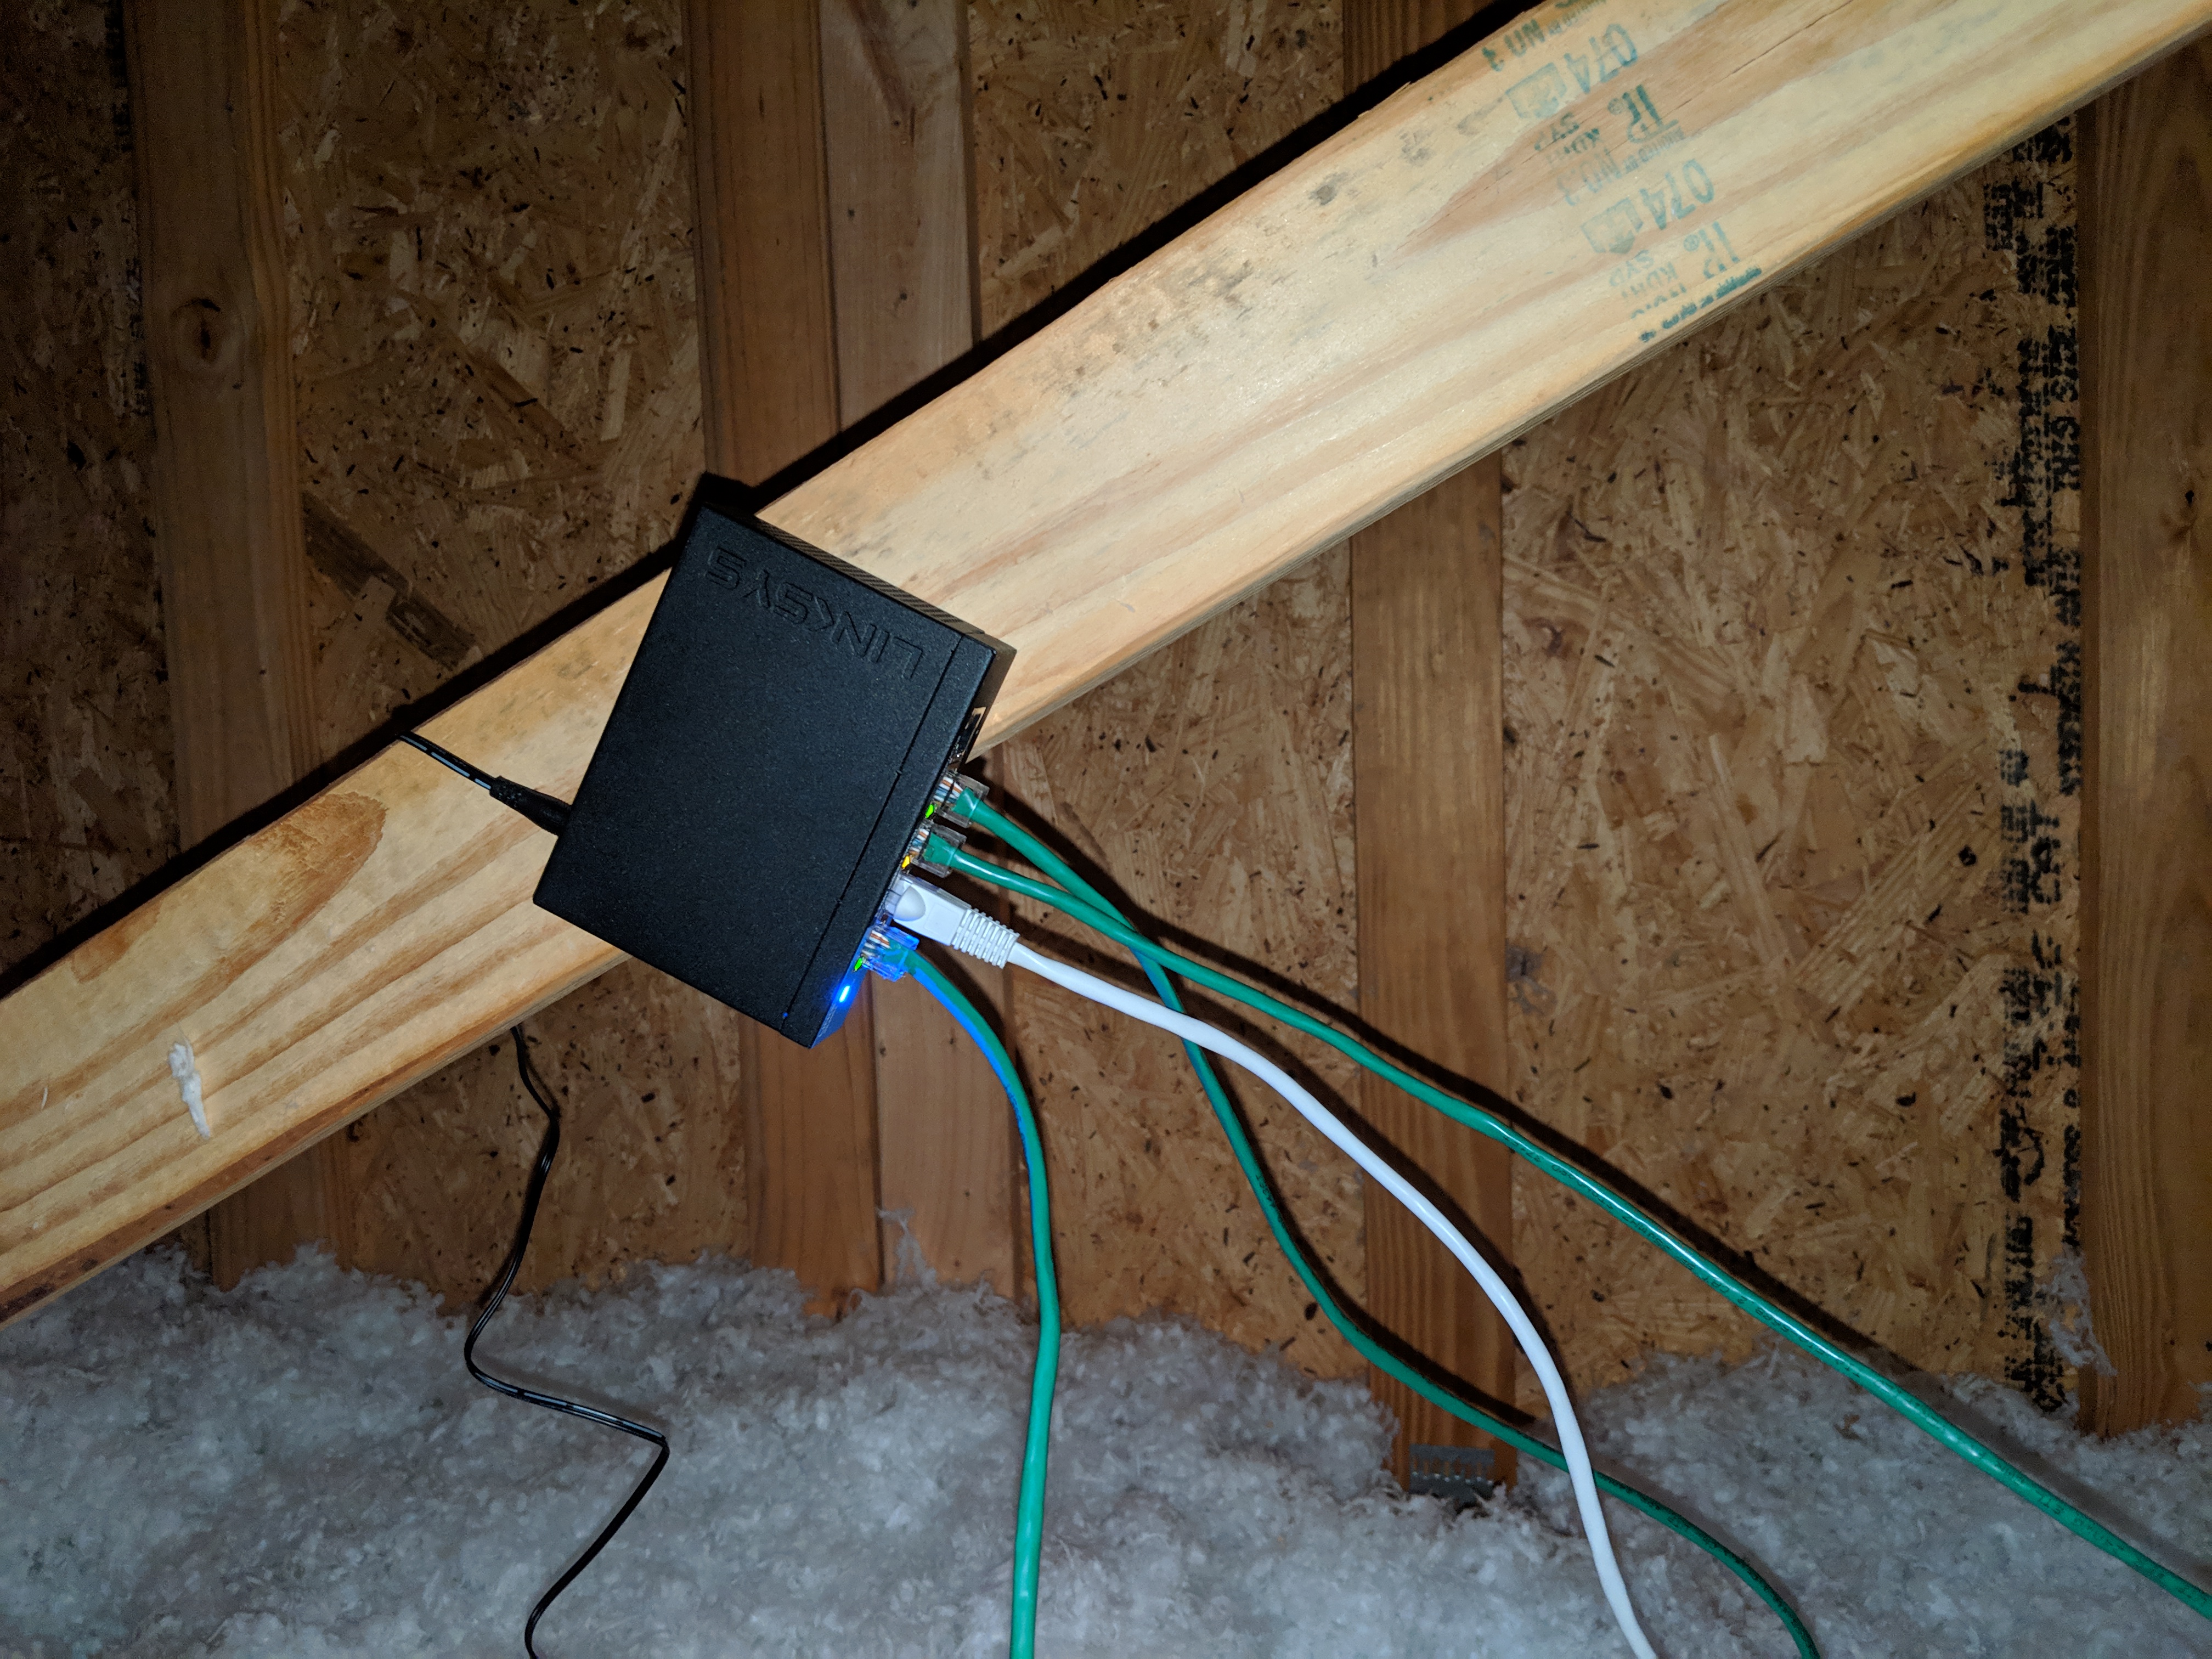
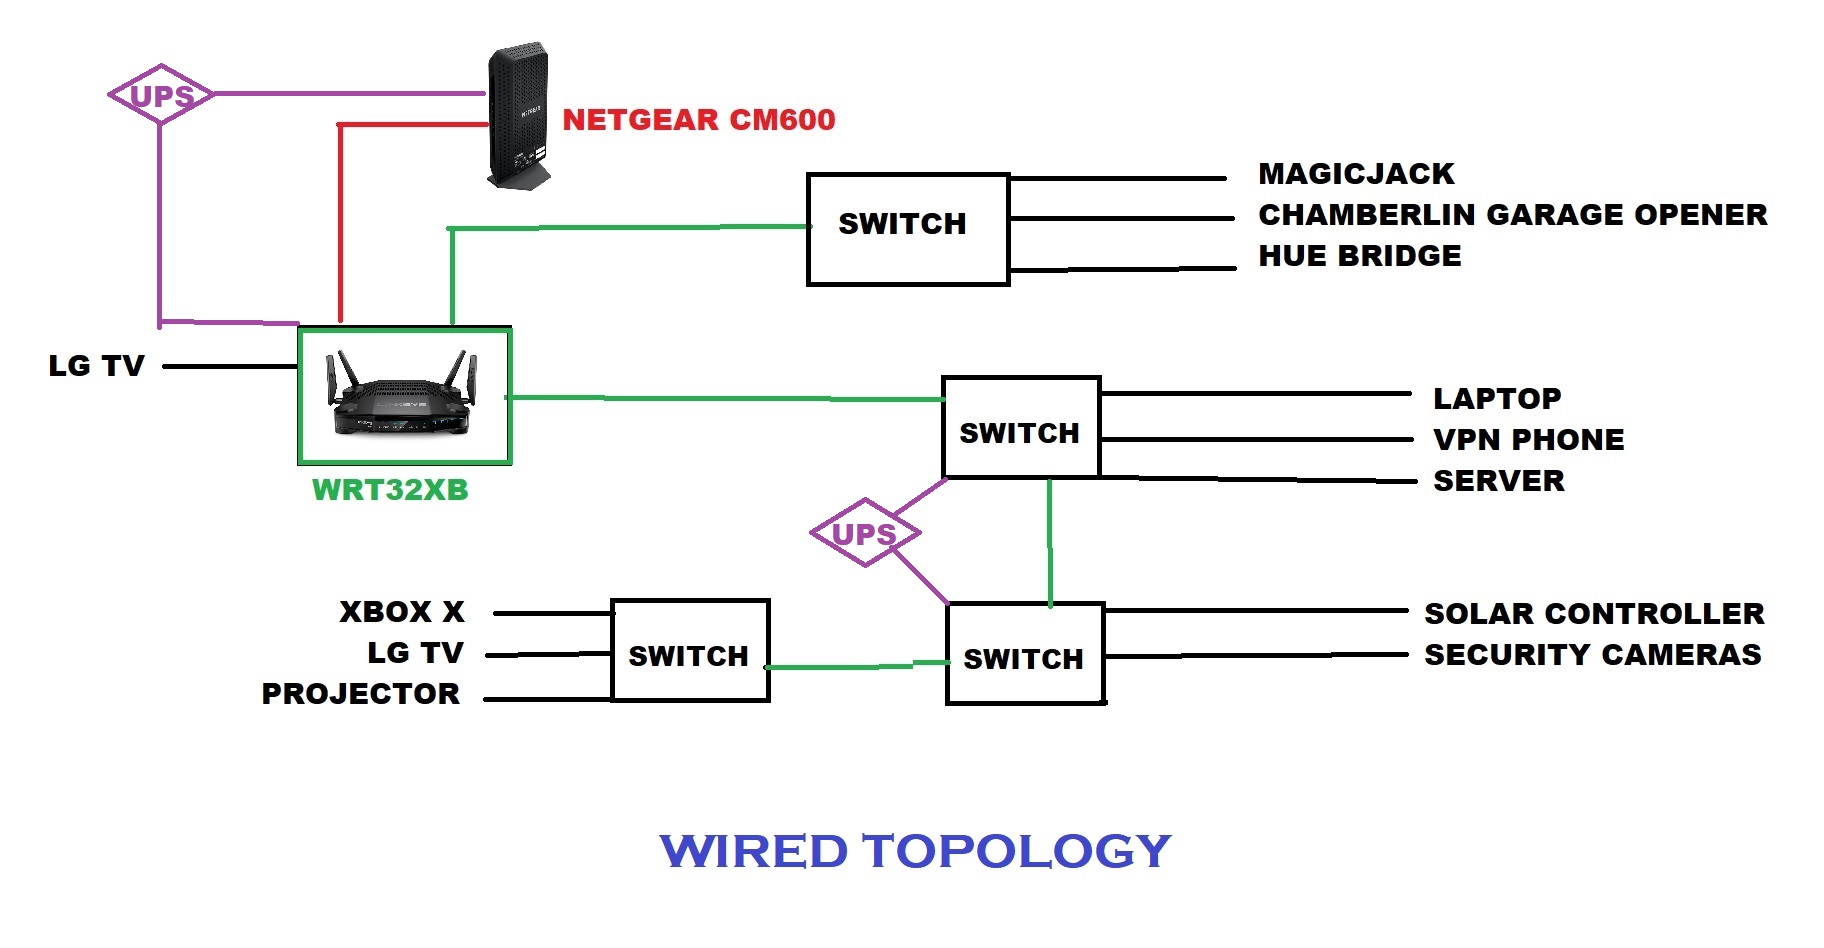
It was only a matter of time before I decided to torture myself with another trip to the attic, this time to give my projector network cable some company. My WRT32X sends sufficient signal to cover all wireless Xboxes, but two of them are next to interior walls and were begging for network drops. After an hour of cursing and leg cramps, I now have only one remaining Xbox that still relies on wireless signal (the one on an exterior wall). My new
attic switch is hopefully the last thing I install in that cursed area of my house. Oh hey, it's time for an
updated network topology.
Today my Xbox(s) gain mouse/keyboard support, so I thought it was appropriate to catch them all updating together. Total update was less than 500MB, so whatever magic they have now wasn't very heavy.

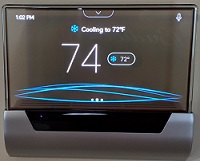
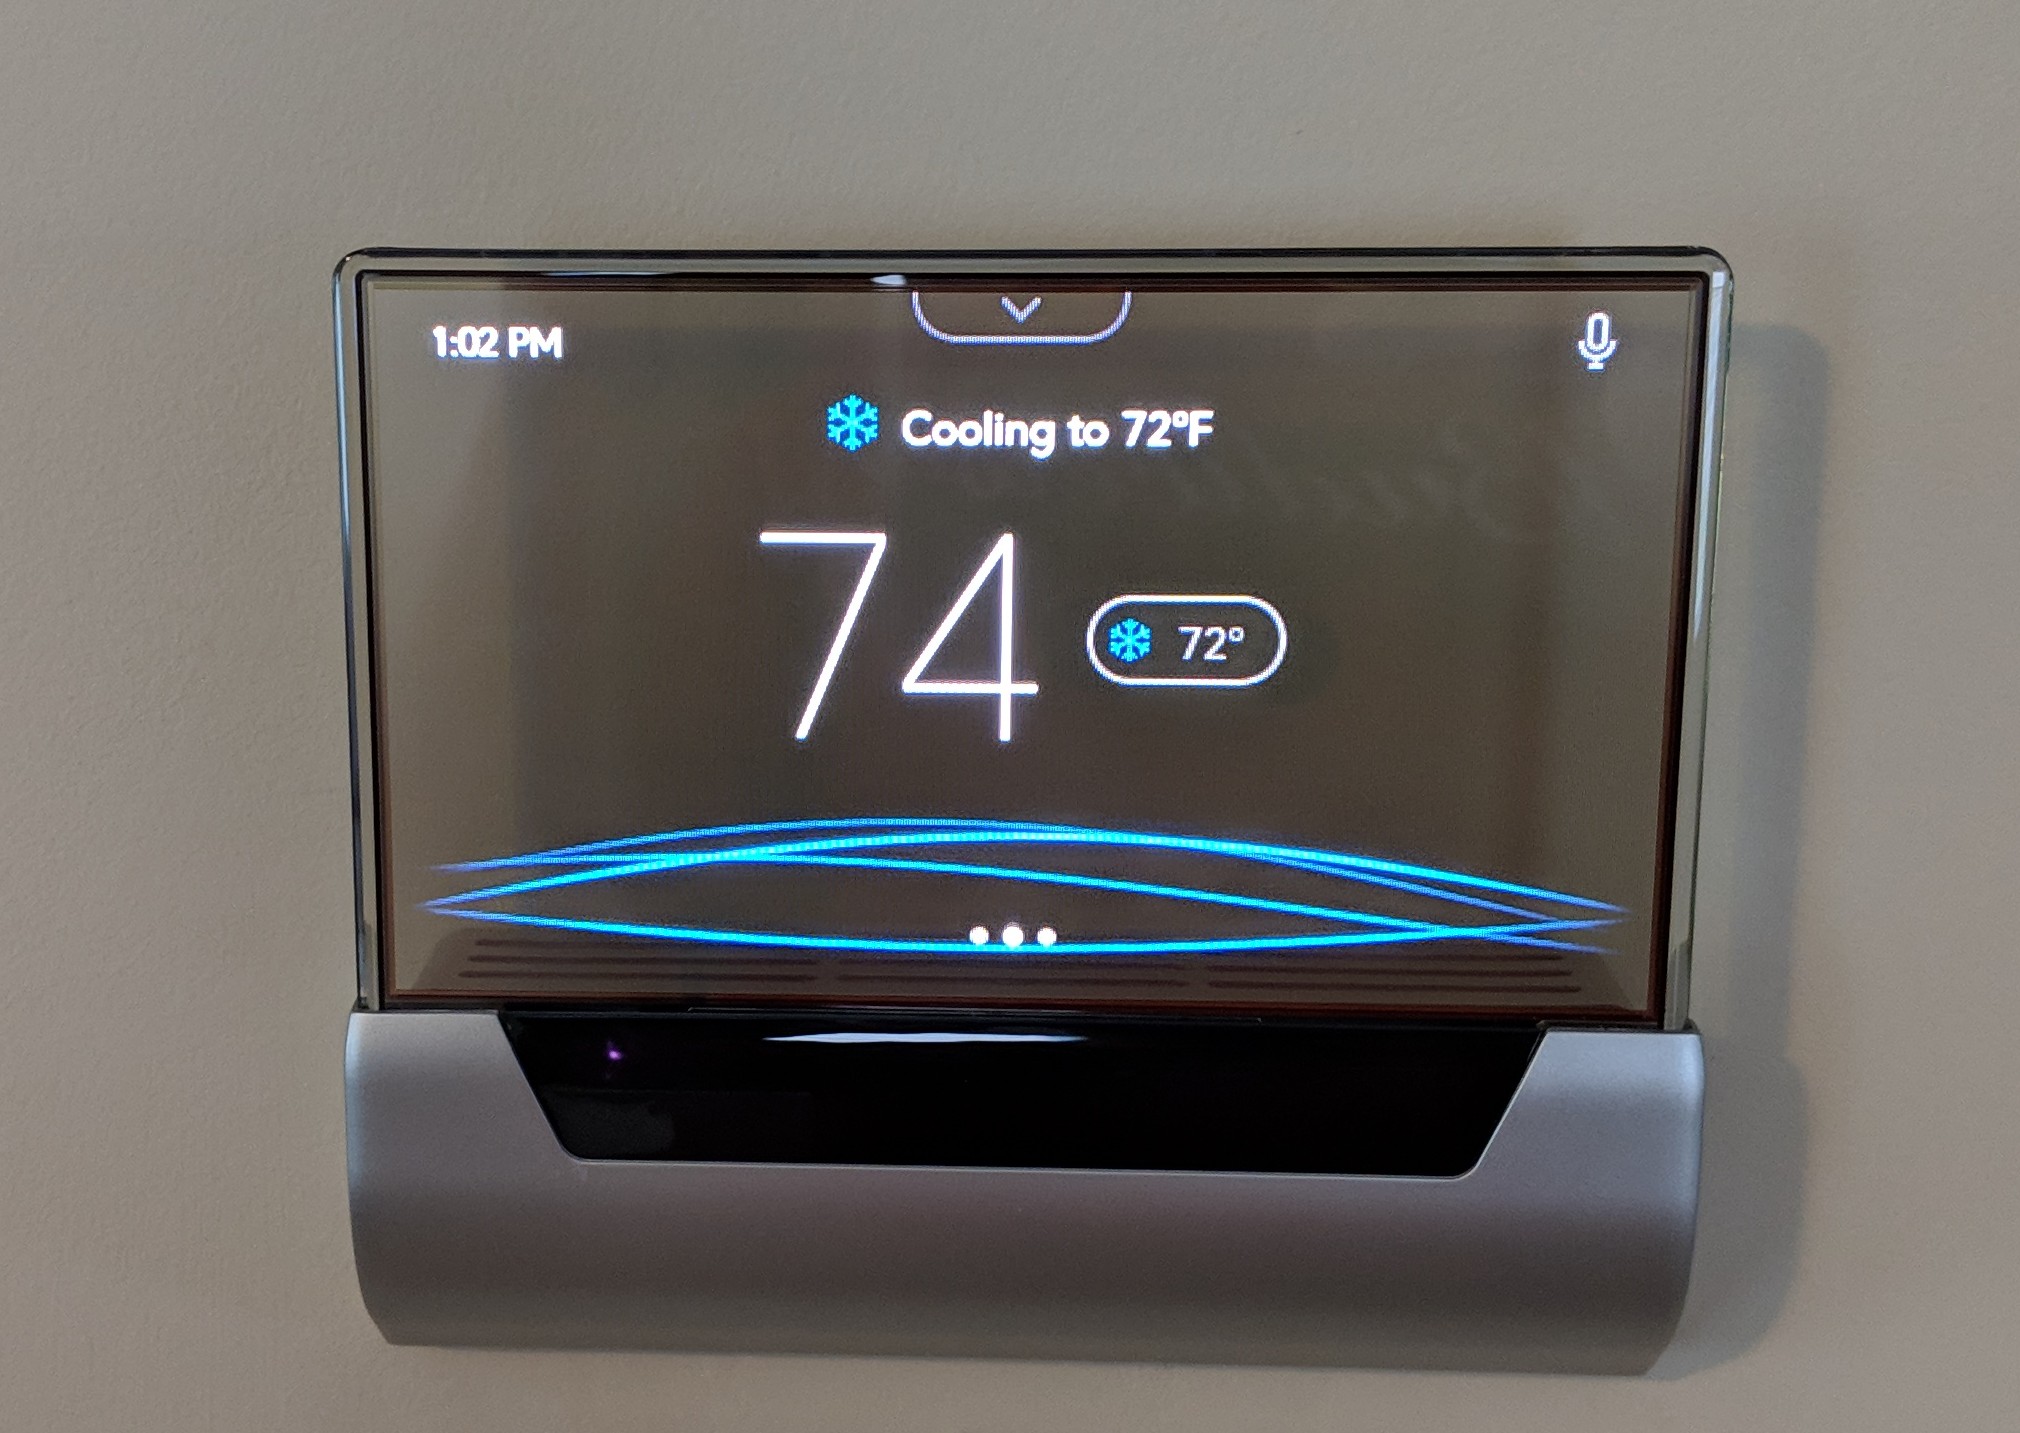
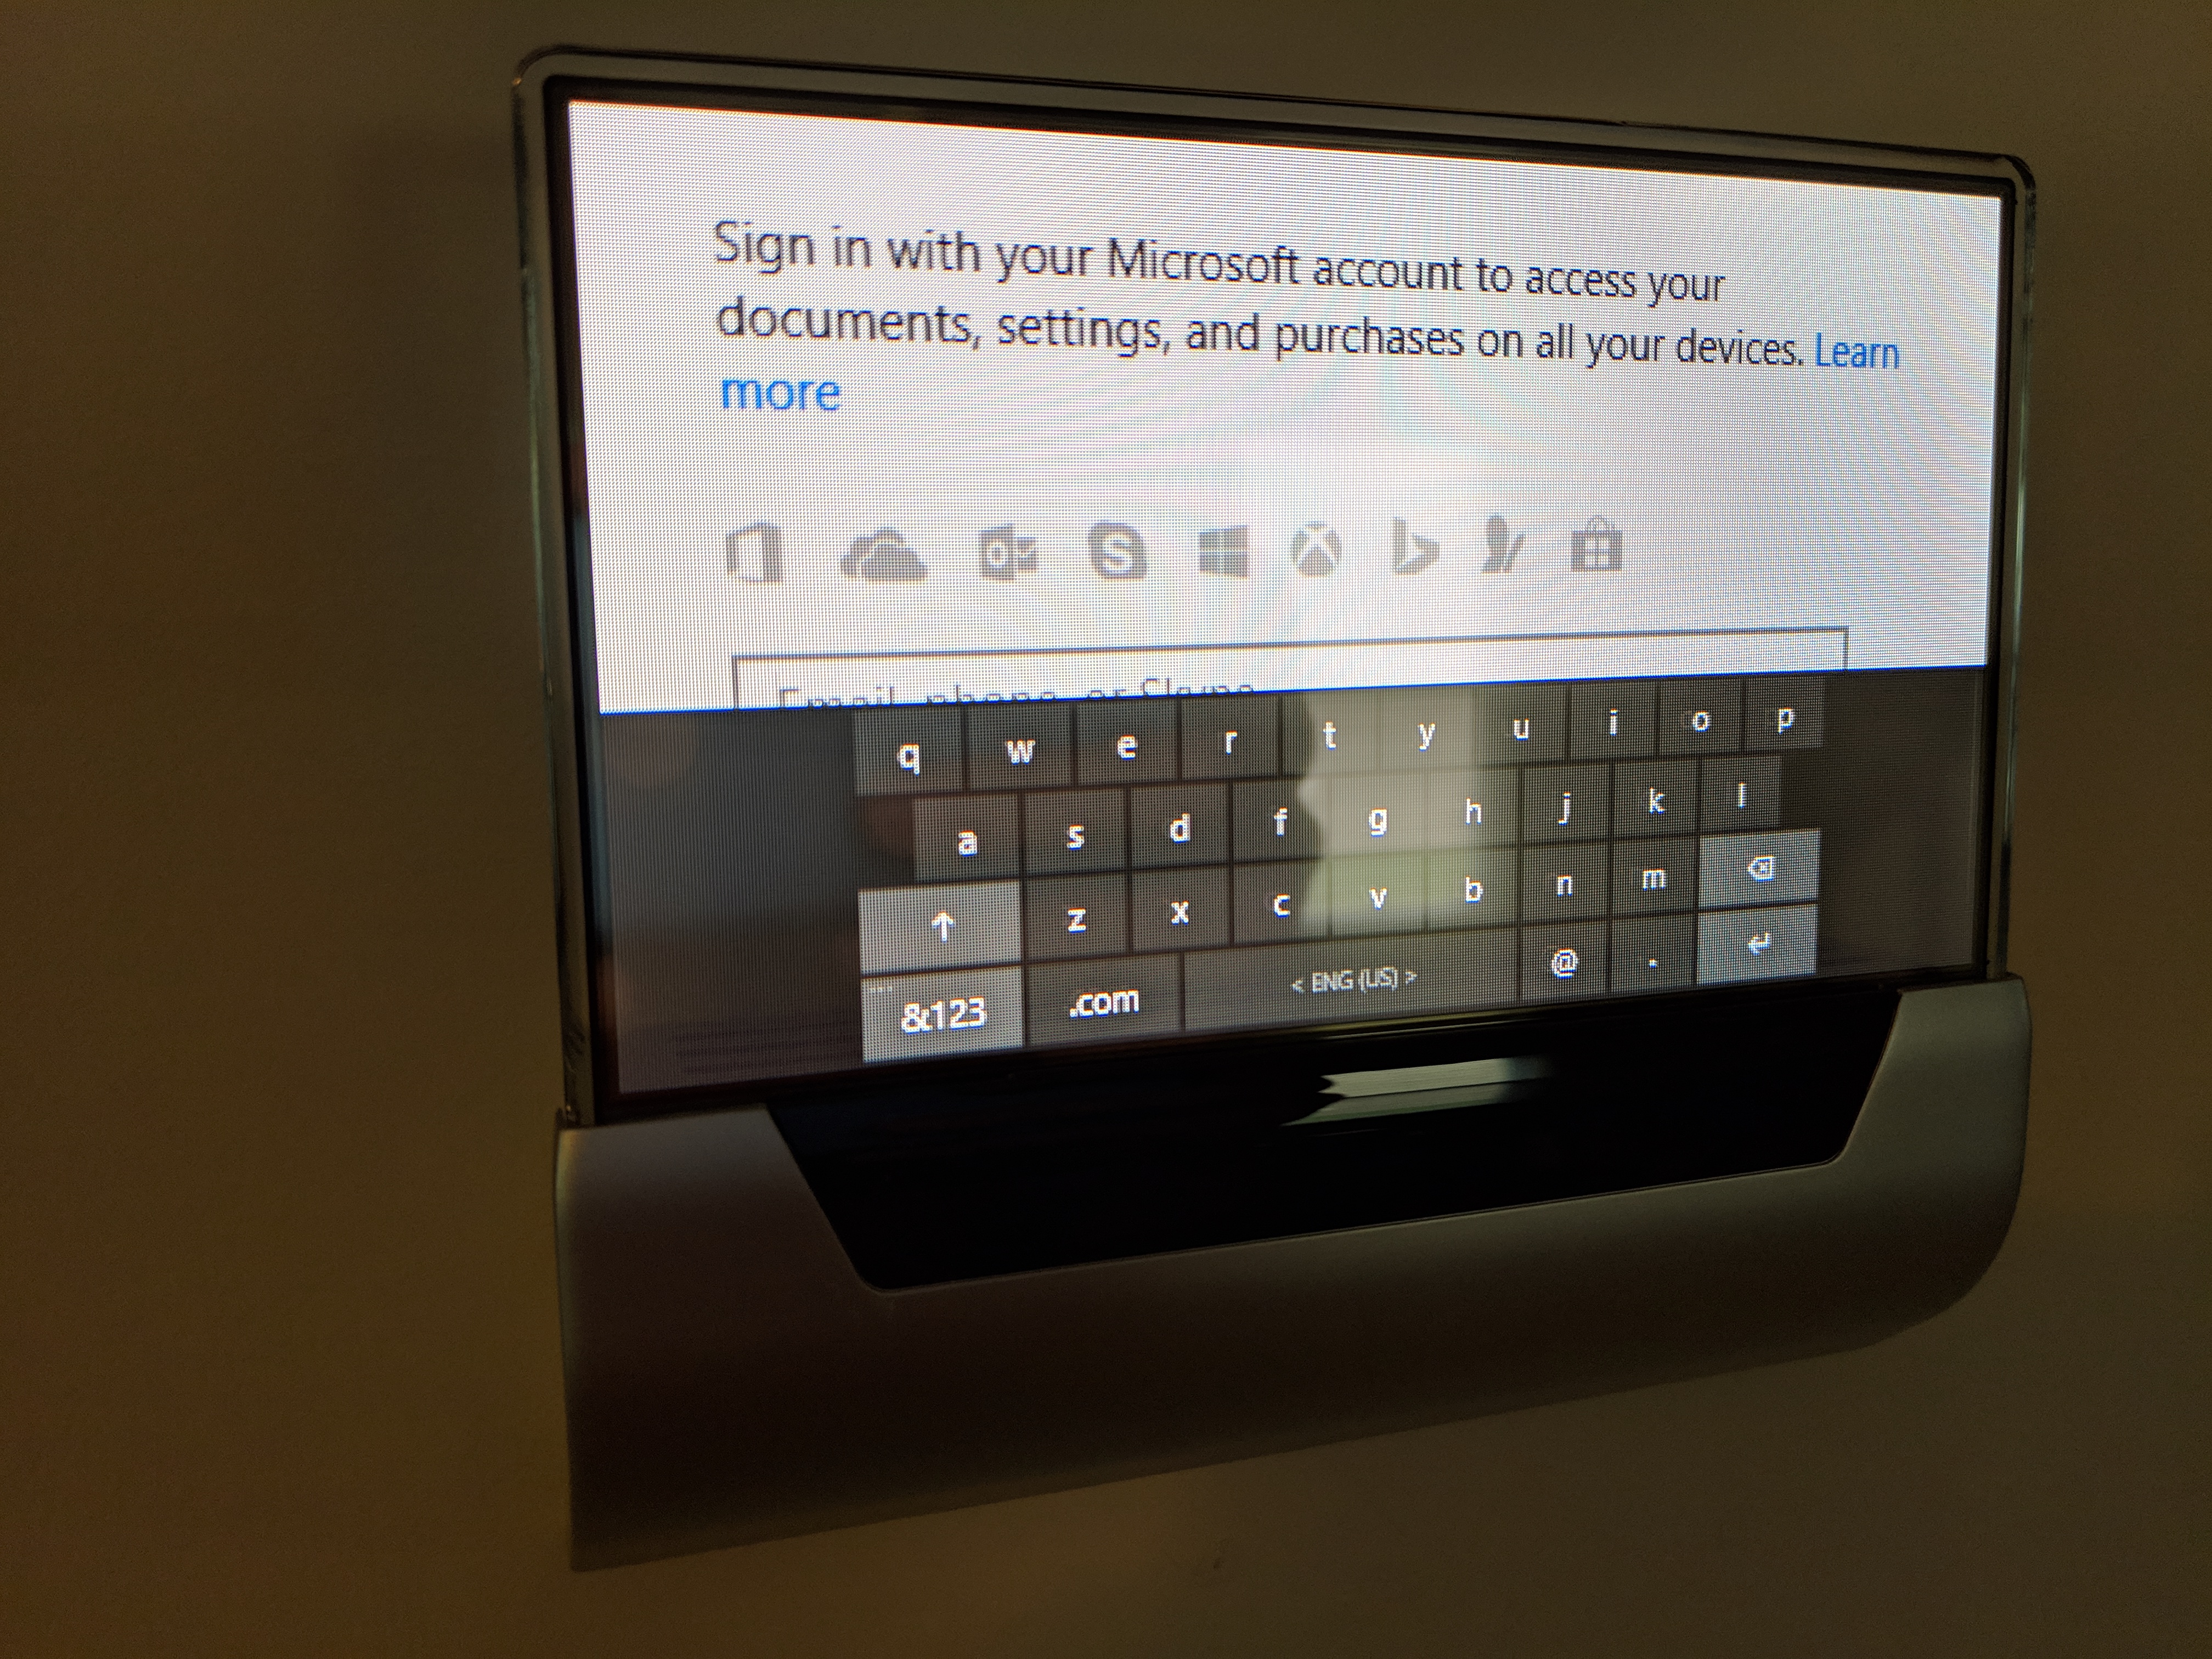
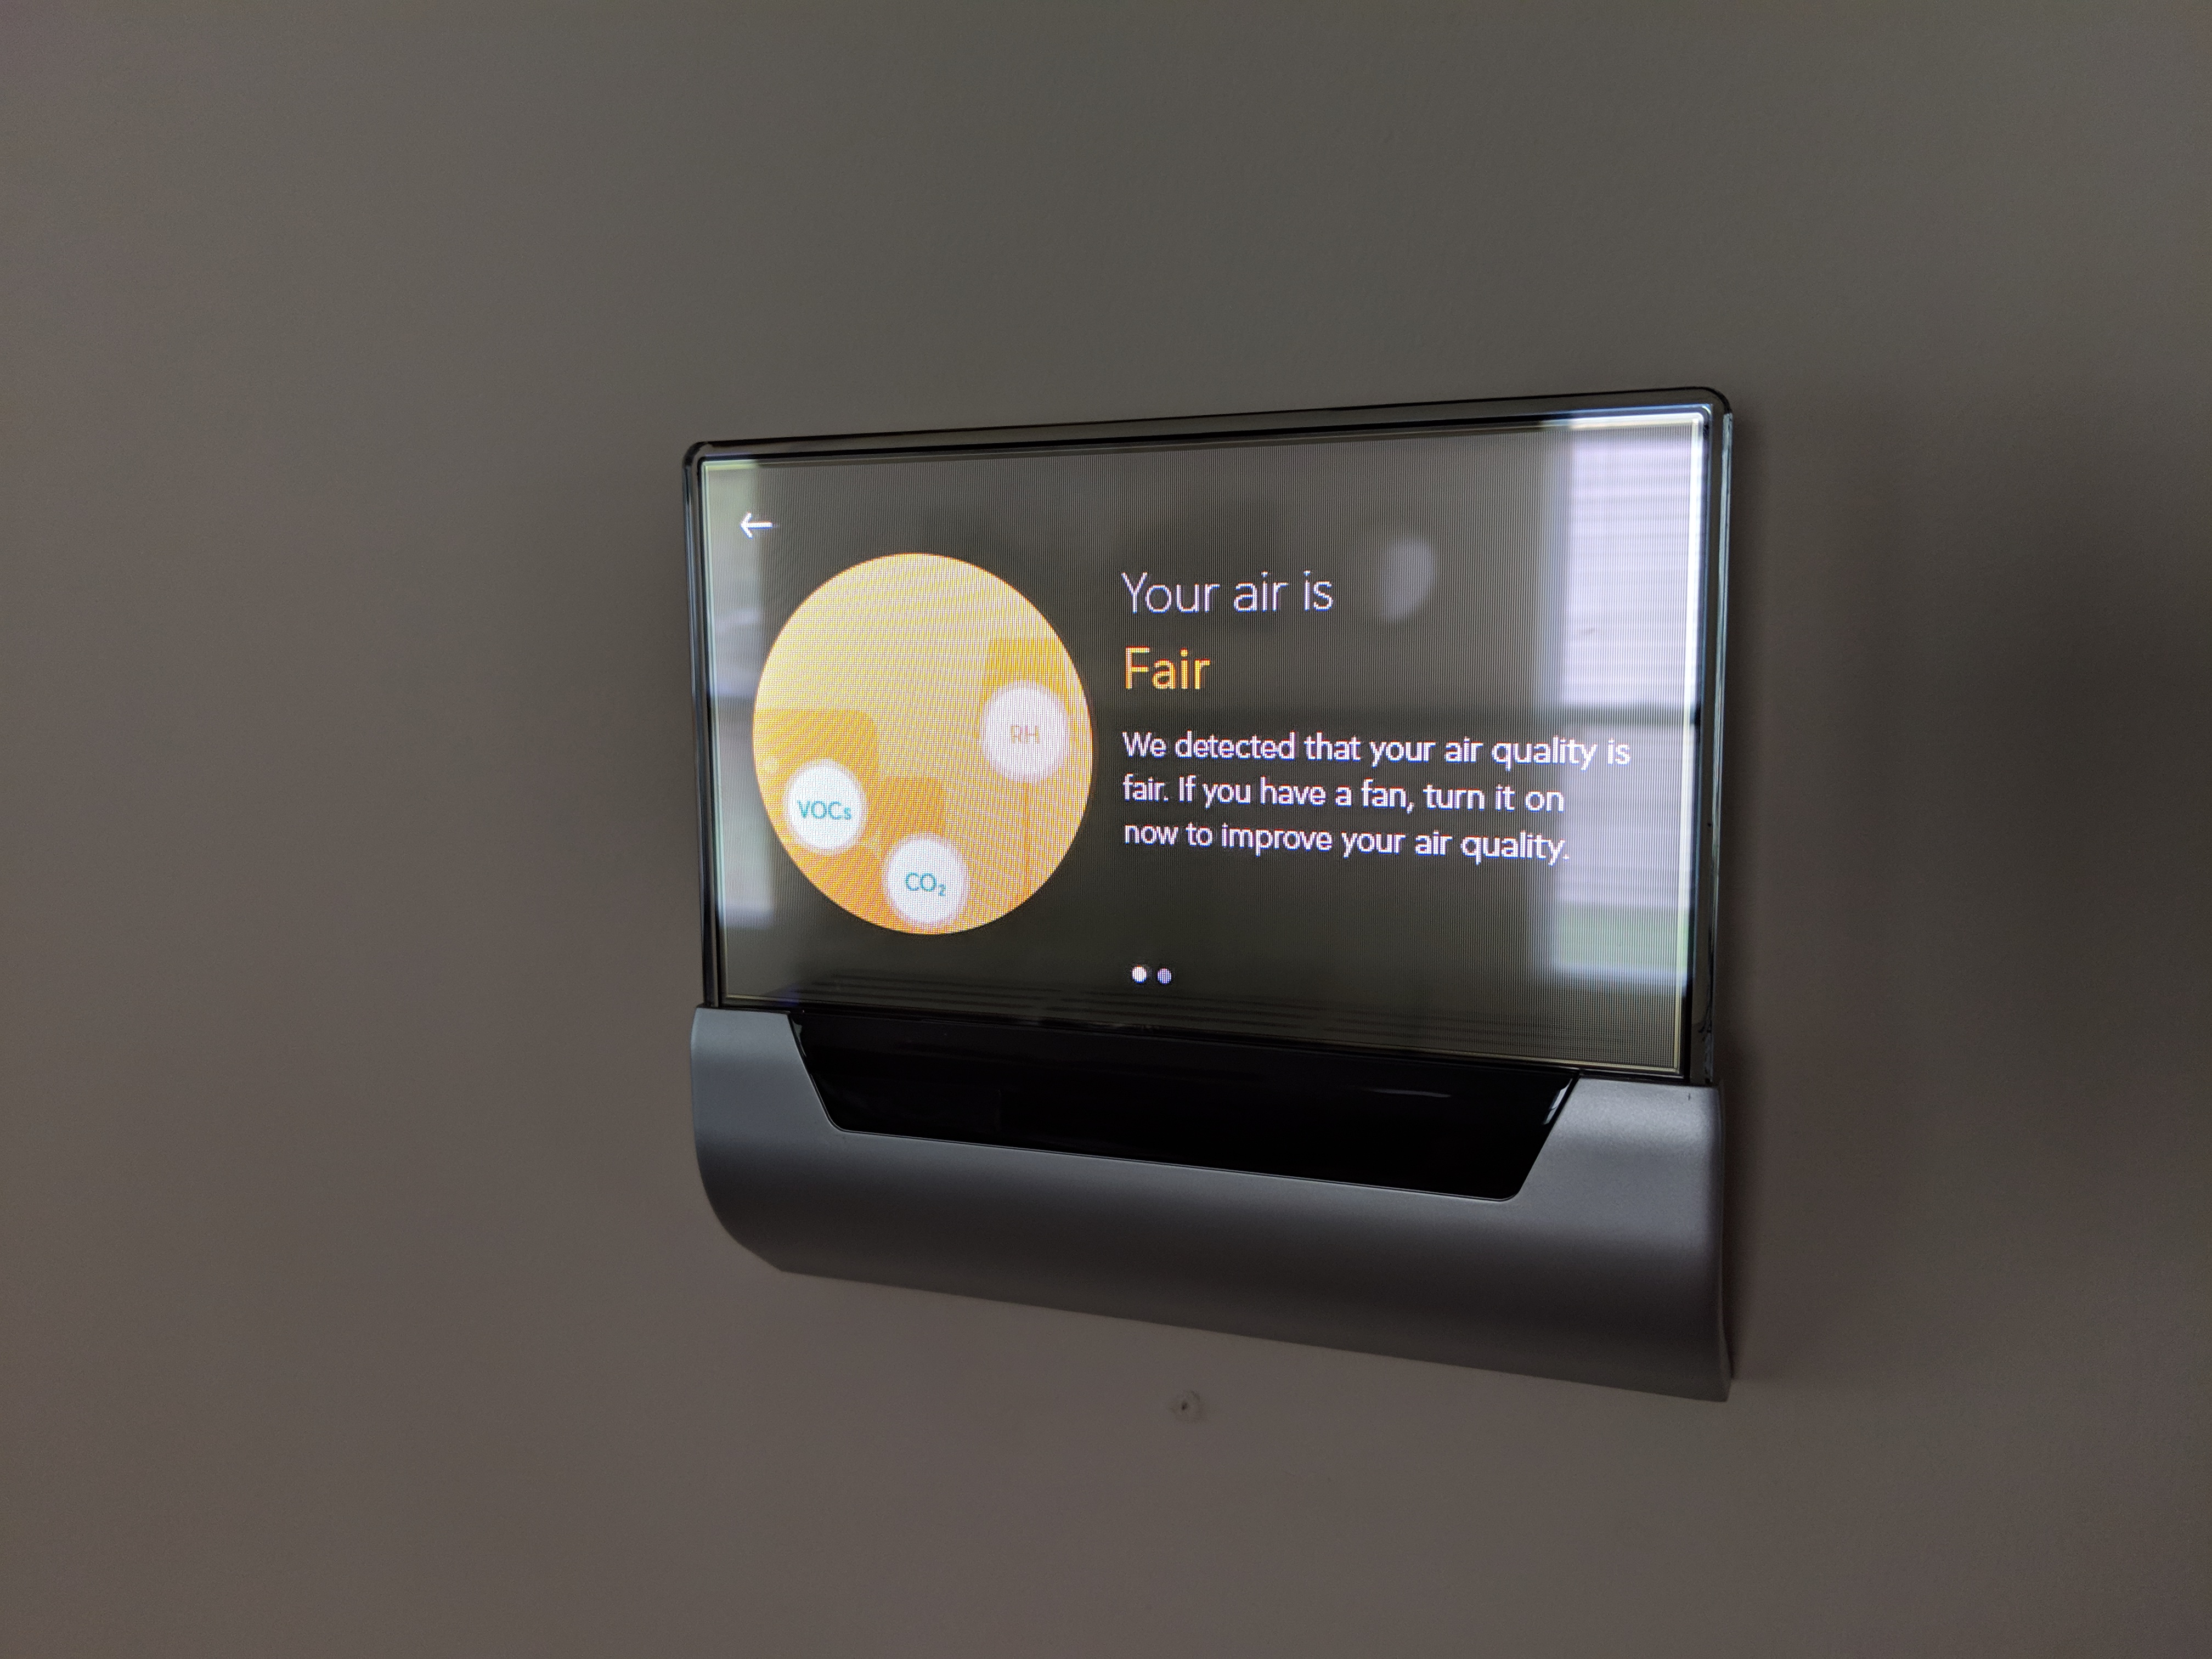
Not satisfied with my NEST thermostats perfect operational record, I decided it was time to complicate my life with a less popular, less supported but much better looking smart thermostat. Enter the GLAS. I knew it was Windows 10 IOT based, but you couldn't really tell until it prompted me for my
Microsoft login and then of course the Cortana integration also gave it away. It reported as "Windows Phone" to my router, so clearly the remains of that ecosystem have found a new home in this thermostat. My Microsoft fanboy satisfied, I quickly learned how limited it is compared to the NEST, save for the awesome touchscreen and
air quality monitoring. Since I'm not a thermostat power user it suits my needs, but definitely a step down in terms of features from the NEST. Hopefully that's rectified by future software updates because it
looks amazing.
Tired of wireless connection drops with my solar controller, and still trying to figure out a solution for my security camera DVR when the power is out, I decided it was time to make a proper networking solution. I routed all the outside wires that run upstairs and to my office into the garage, and ran wires from the solar controller and security camera DVR. I then ran an extension cord from the security camera DVR UPS to power the new switch that
all 4 cables now plug into. Now I'm 100% proper CAT6 cabled to all my wired devices, with no more powerline adapters. I was so excited I immediately drew a
network topology.
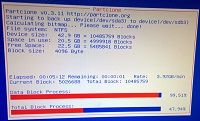
Senator Kelley is a well known jerk for making me spend money on hardware I don't need. That said, he mentioned upgrading his PS4 Pro - Kevin Edition with a new hard drive and I immediately had to one-up him and upgrade my Xbox One X. I chose the
Samsung 860 EVO 1TB drive because SSD and same size as my current crappy 5200 factory drive, although I soon learned the factory drive is actually a 960GB because false marketing. A quick review of
this video and the stock ST100LM035 was free of it's prison.
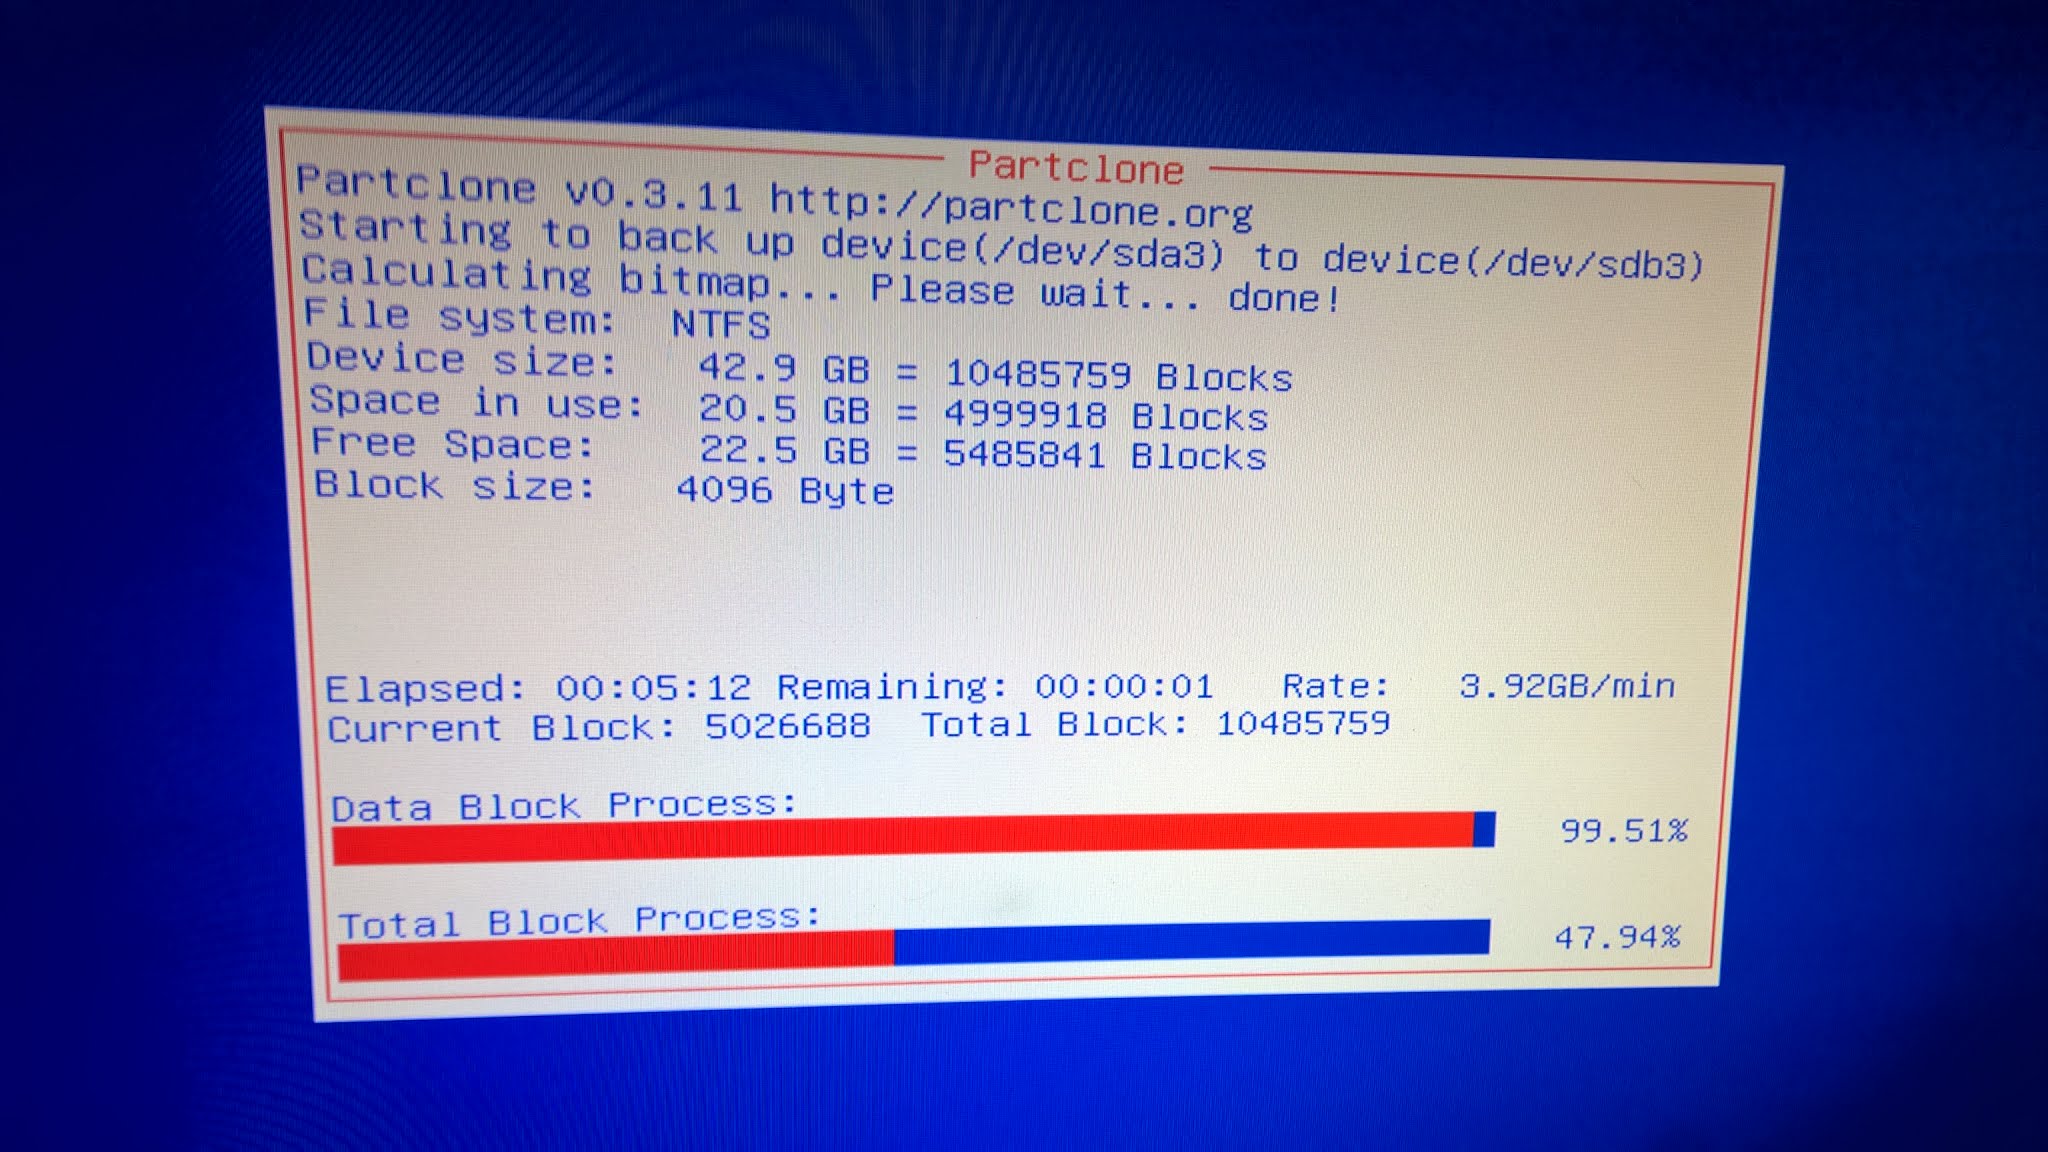
Clonezilla Live then
imaged it over to my new drive and I magically had an SSD enabled Xbox One X. Sadly, the 7 partitions only used 960GB and I was too scared to expand the data partition, so I hid a bunch of illegal documents in the extra unaddressable 40GB. System and game bootups are all pretty much 5 seconds faster, so nowhere near making the $150 upgrade price worth it. The Senator is rightly jealous though which makes up the rest of the gap.
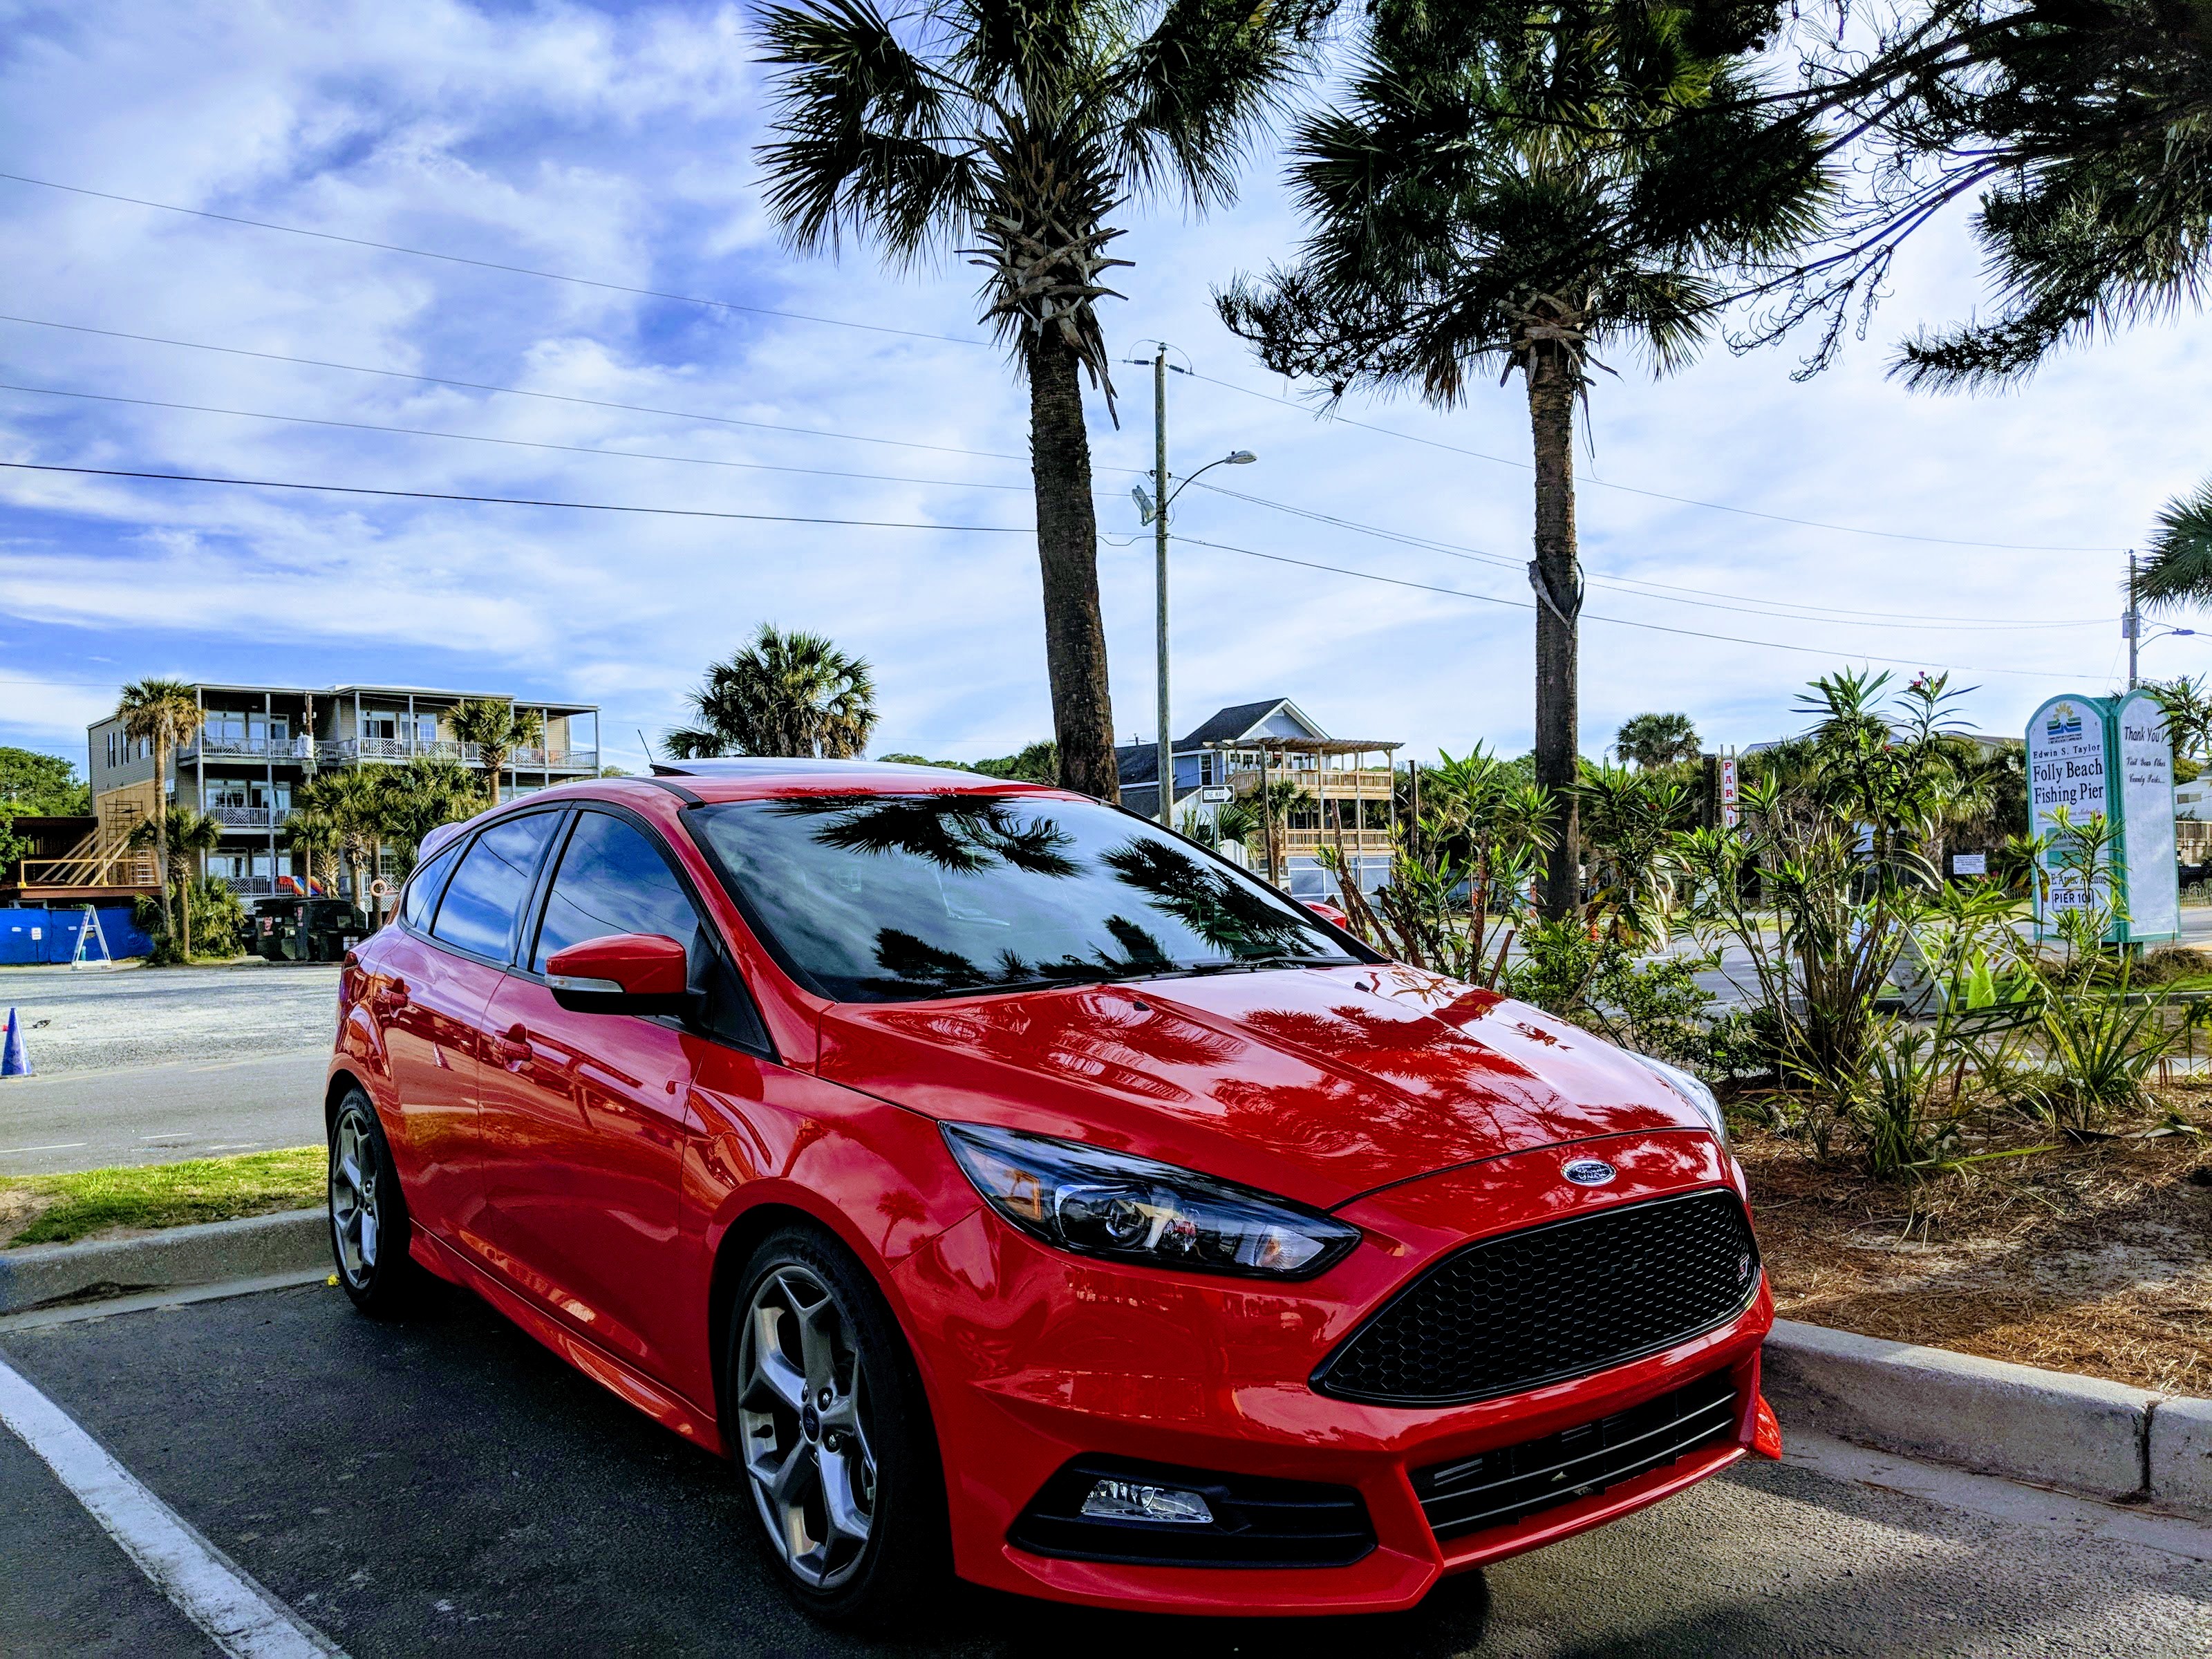 2017 Ford Focus ST
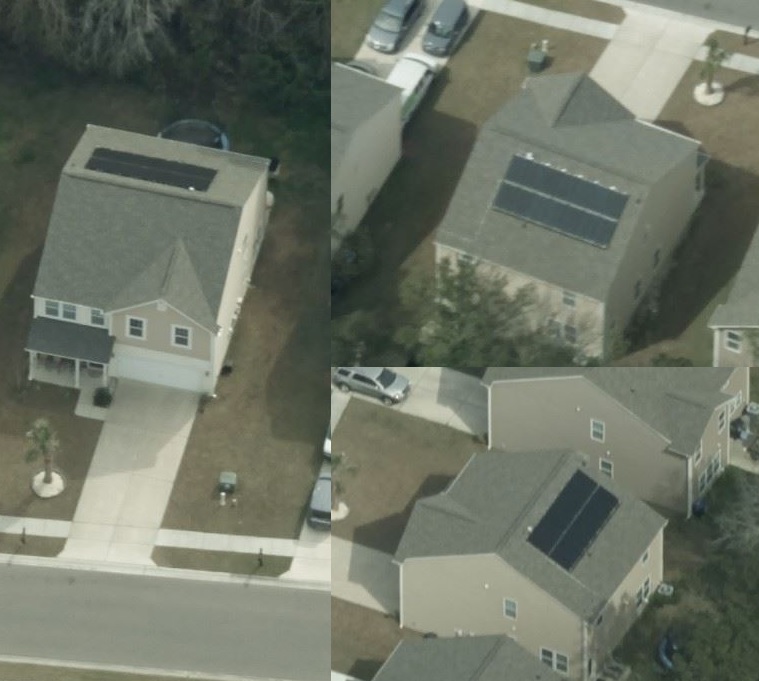 Bing Birdseye has finally caught up with my solar panel installation, eliminating my need to borrow Steve's drone for some updated photos. I can now gaze on their 3.14 kWh capacity glory whenever I feel like it without the need for ladders or drones.
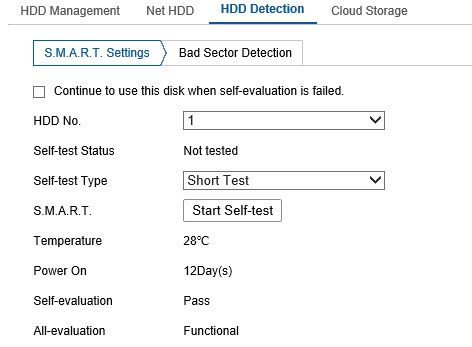
